
Moving Your Billiard Table to a New Home? Pro Movers' Insider Tips on Transport and Installation
Moving Your Billiard Table to a New Home? Pro Movers' Insider Tips on Transport and Installation
Moving season is here again, and many billiard enthusiasts face a bittersweet dilemma: how to bring their beloved table along? Hiring movers risks bumps and scratches, while DIY might leave you unable to reassemble it. Today's guide spills the beans on the pros' hard-earned secrets—read on and you'll know exactly what to do.
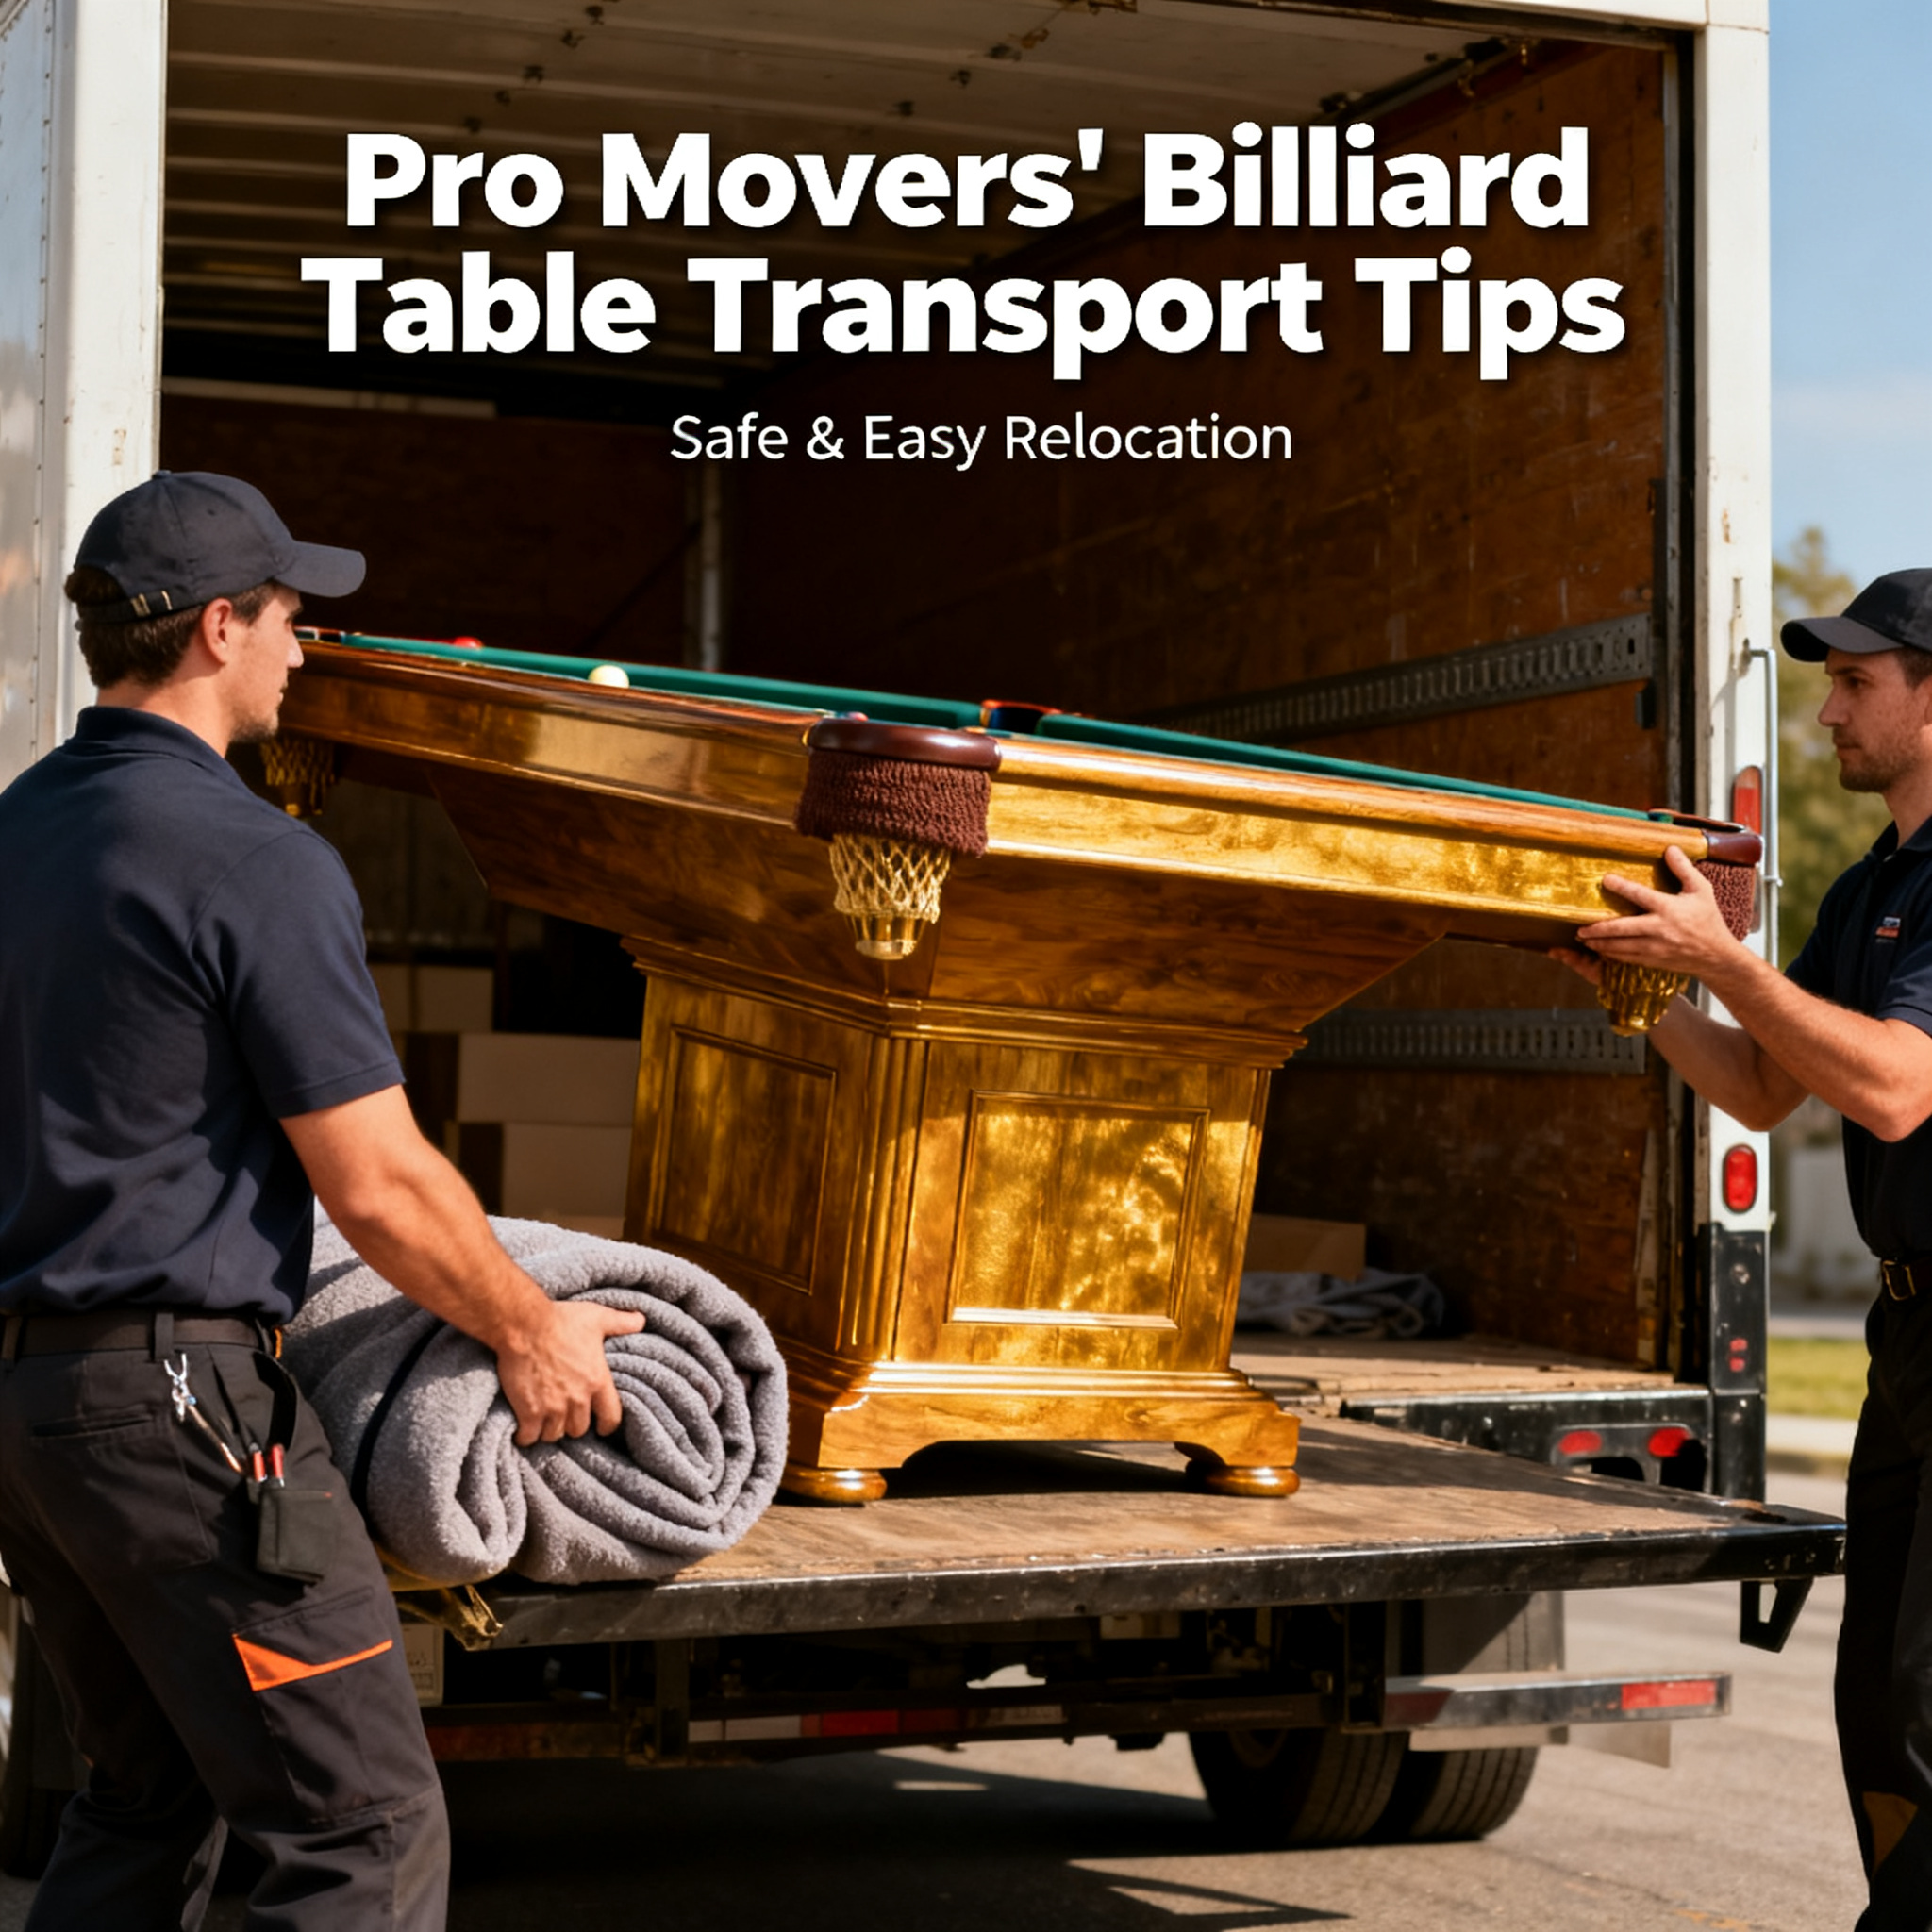
A Reality Check: Why Moving a Billiard Table Is a Technical Task
A billiard table isn't like a sofa or fridge that you can just have a burly buddy haul. Its core component is natural slate—a single slab for a Chinese eight-ball table weighs at least a few hundred pounds and is highly brittle. Even a minor knock can cause hairline cracks invisible to the naked eye. The cloth, once dented by a hard object, gets an irreparable pit. Worse, wooden frames can warp under uneven stress, causing balls to veer off-line during play.
So, the golden rules of moving a billiard table boil down to three words: protect, disassemble, stabilize. Protect means preventing damage, disassemble means breaking it down correctly, and stabilize means securing it during transport. Fail at any step, and you'll end up with an uneven playing surface at best, or a ruined table at worst.
Step 1: Disassembly—More Nuanced Than You Think
Many assume disassembly is just popping off the pockets and lifting the slate. Big mistake. Here's the pro process:
Cloth: Carefully remove the cloth staples with a专用 tool, avoiding tears at the edges. Fold the cloth neatly and wrap it in soft fabric to prevent creases. If the cloth is two or three years old, consider replacing it now—you'll avoid discovering uneven wear after reinstallation.
Pockets: Mark the position of each of the six pockets, especially since the leather specs for side and corner pockets differ; mixing them up can affect ball drop. Store small parts like pocket screws and brass fittings in labeled zip-lock bags.
Slate: This is the most critical step. The three slate slabs (standard for Chinese eight-ball) are leveled at the seams with a gypsum-based compound during installation. Before disassembly, use a marker to number the slabs (1, 2, 3) on the sides and corresponding spots on the frame, and take photos. This ensures you can restore the factory-level flatness during reassembly; otherwise, seams will be uneven, and balls will jump when crossing them.
Frame and Legs: After removing connecting screws, pack the legs and frame separately. Bag screws by location, and snap a photo of each screw's original spot for reference.
Step 2: Handling and Transport—Details Make or Break
For tools, pro teams use hydraulic pallet jacks and suction cups. Slate must be lifted vertically with suction cups—never tilted or dragged. Without suction cups, at least four people should use sturdy wide straps to lift it evenly, with synchronized steps.
Vehicle choice matters too. Line the truck bed with thick foam or old carpet. Stand the slate upright against the front bulkhead, wedging it with wood blocks and airbags to ensure zero movement during transit. Pack the frame and legs separately, avoiding heavy items on top. Never stack slate slabs flat—the weight of the upper slab can cause internal damage to the lower one.
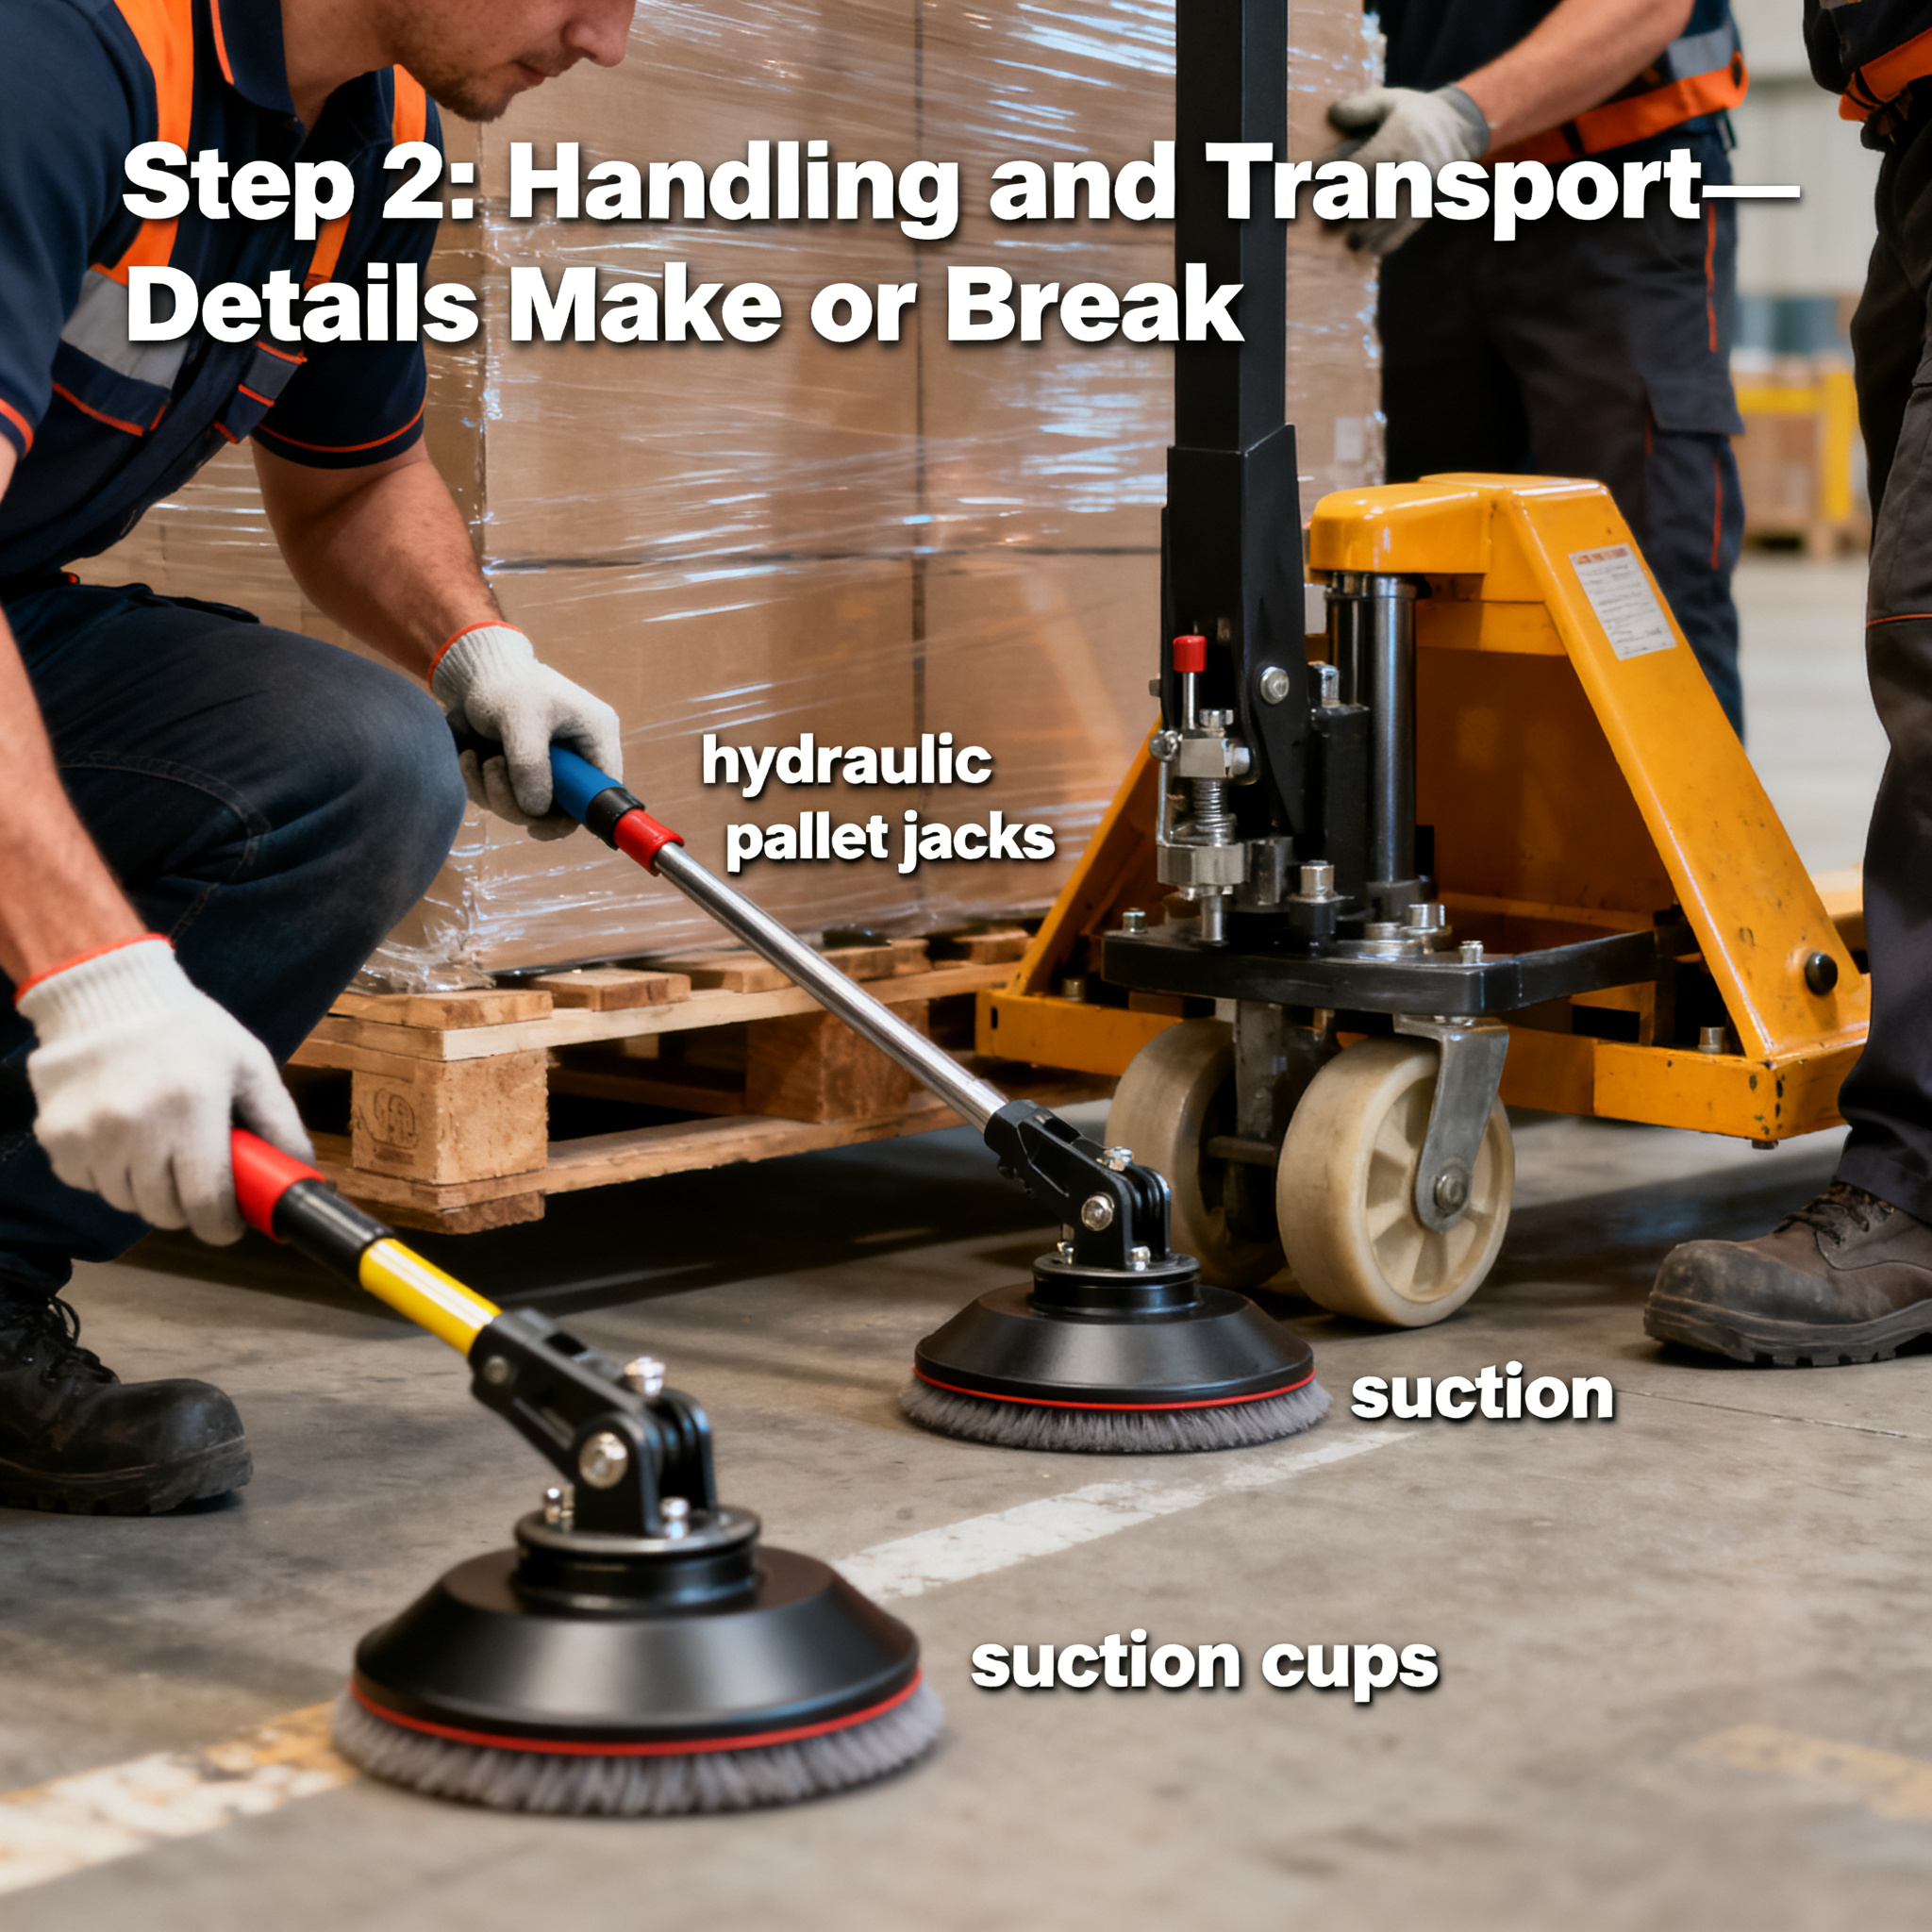
During transport, drive at a steady speed and avoid rough roads. For distances over 50 km, opt for a box truck with air-ride suspension—don't skimp on freight costs; a cracked slate costs far more.
Step 3: Installation and Leveling—The Ultimate Test of Skill
At the new home, installation is trickier than disassembly. First, confirm the placement: Is the floor level? For wood or tile floors, use a moisture barrier. The sequence: install legs and frame, rough-level with a spirit level, then place the slate. After the slate is set, use feeler gauges to check seam flatness between slabs, keeping tolerance within 0.5 mm. Fine-tune the leveling screws on the legs, repeatedly checking with a spirit level at different points on the slate.
Once level, fill the slate seams with special gypsum compound, scrape smooth, and let dry. Then lay the cloth, ensuring even tension—pull from the center outward and staple. Poor cloth installation affects ball speed and control. Finally, reattach pockets and the ball return system, and do a full check of leg stability.
DIY or Hire the Pros?
After all this, you might ask: Can I do it myself?
Here's a simple rule of thumb:
- Distance: If it's within the same city or neighborhood, with an elevator, under 2-3 km, and you have three or four reliable helpers plus a pickup or SUV, DIY is feasible. But strictly follow the steps above, especially slate numbering and leveling.
- Cross-city moves, no elevator with stairs, or large slate (e.g., snooker tables): Definitely hire a professional team. Table installation and leveling require experience; common issues from amateur installs include rattling tables, loose pockets, and balls catching on slate seams. These are a pain to fix later and often need rework.
- Value assessment: An entry-level table costs a few thousand yuan, with moving fees a few hundred—reasonable. But for high-end models like the SQUARE COMFORT Weishi T05 Golden Flower Leg Steel-Cushion or T08 Chinese Eight-Ball Big Gold Round Leg, priced above 10,000 yuan, the precision of slate and steel cushions directly impacts play. One improper move causing hidden damage outweighs any savings on moving costs.
One detail in SQUARE COMFORT's after-sales service stands out: they offer not just sales, but technical guidance covering installation, calibration, acceptance, and maintenance. Their customer service team also does periodic follow-up calls to track product usage. This service mindset is a real relief for a table that needs long-term care.
Final Thoughts
When moving a billiard table, the worst enemy is a "good enough" attitude. A cracked slate can be replaced, but the new one never matches the factory precision. Legs can be adjusted, but once the wooden frame warps, no adjustment can restore the original feel.
If you're confident in your DIY skills, follow this guide step by step—you'll be fine. But if you value preserving your playing experience after the move, leave it to the pros and have them do a full maintenance check. That investment is well worth it. After all, a great table deserves gentle handling.