
From Material to Installation: A Step-by-Step Guide to Inspecting a New Sports Floor
From Material to Installation: A Step-by-Step Guide to Inspecting a New Sports Floor
Spending hundreds of thousands on renovating a new sports hall, with the flooring laid and looking pristine—does that mean everything is set? If you think so, you might be heading toward disputes down the road.
Flooring issues often don't show up immediately after installation. Problems like bubbling, edge lifting, odors, or even wear and tear within six months can surface later. When they do, the installer might dismiss you with a "misuse" excuse. That's why the inspection phase is where you truly take control. Today, let's dive into how to inspect a new sports floor—what to look for, how to test it, and how to document evidence.
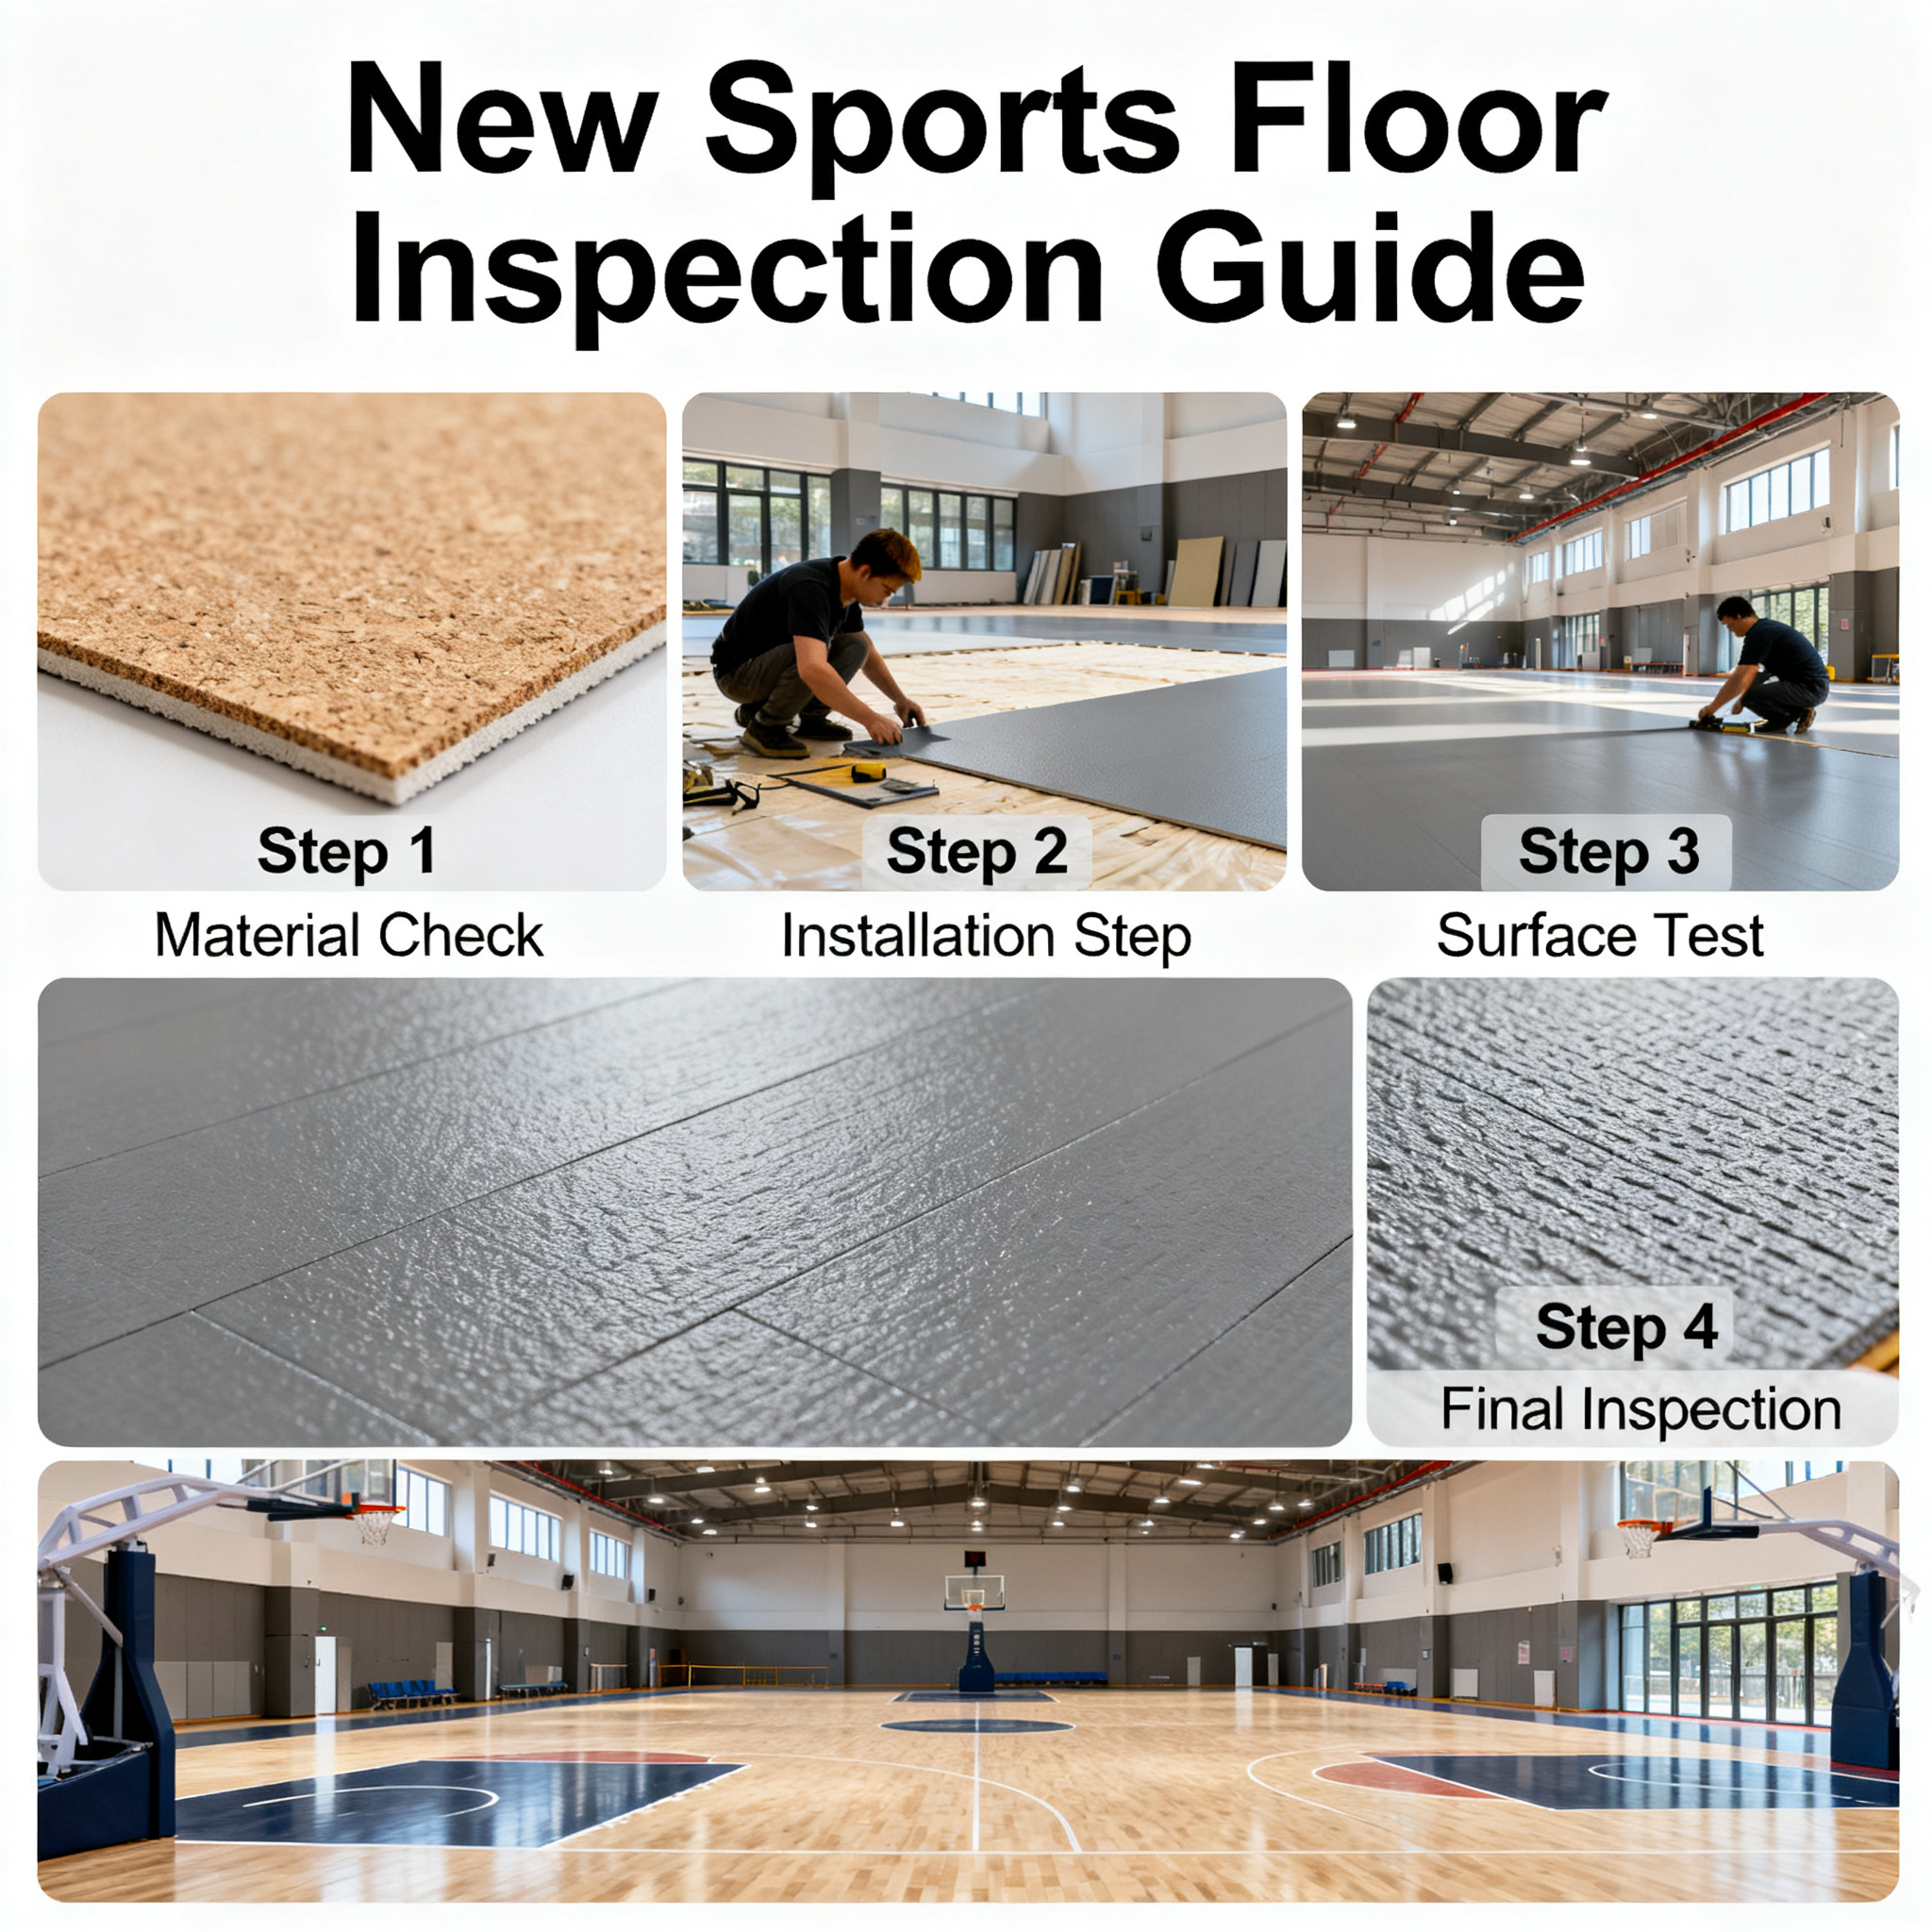
Step 1: Visual Inspection—Don't Be Fooled by First Impressions
Many people just walk around, check if the color looks right and if it's clean. That's far from sufficient. You need to crouch down, look at the floor surface at an angle along the light direction. What to focus on? Look for obvious color differences, impurity spots, or inconsistent reflections. High-quality PVC sports flooring should have a uniform and fine texture. If you see patchy "mottling" against the light, it could indicate unstable material quality or uneven adhesive application during installation.
Also, don't forget to smell. A compliant sports floor should not emit any pungent chemical odor after installation and a few days of ventilation. If you feel eye irritation or throat discomfort upon entering, be wary of whether the material meets environmental standards. This is crucial for the health of future users, especially children in youth training centers—no level of caution is too high.
Step 2: Flatness Test—Double Verification Through Feel and Data
The biggest fears for flooring are "bubbles" and "depressions." You can wear flat-soled shoes and rub your foot back and forth to feel for any noticeable unevenness. For a more professional approach, use a 2-meter straightedge (or a perfectly straight aluminum profile) and place it flat on the floor to check the gap between the straightedge and the surface. According to national standards, the flatness error for sports flooring is typically required to be within 2 millimeters. If you can slip a coin into the gap, the floor fails the test.
If you notice slight bumps in certain areas, don't rush to sign off. Many small bubbles result from trapped air during installation or an uneven base. At this point, ask the installer to use a professional roller to fix it. If they can't, it's time to discuss rework or compensation. Remember, flooring is "30% material, 70% installation"—if the foundation isn't solid, problems will keep cropping up.
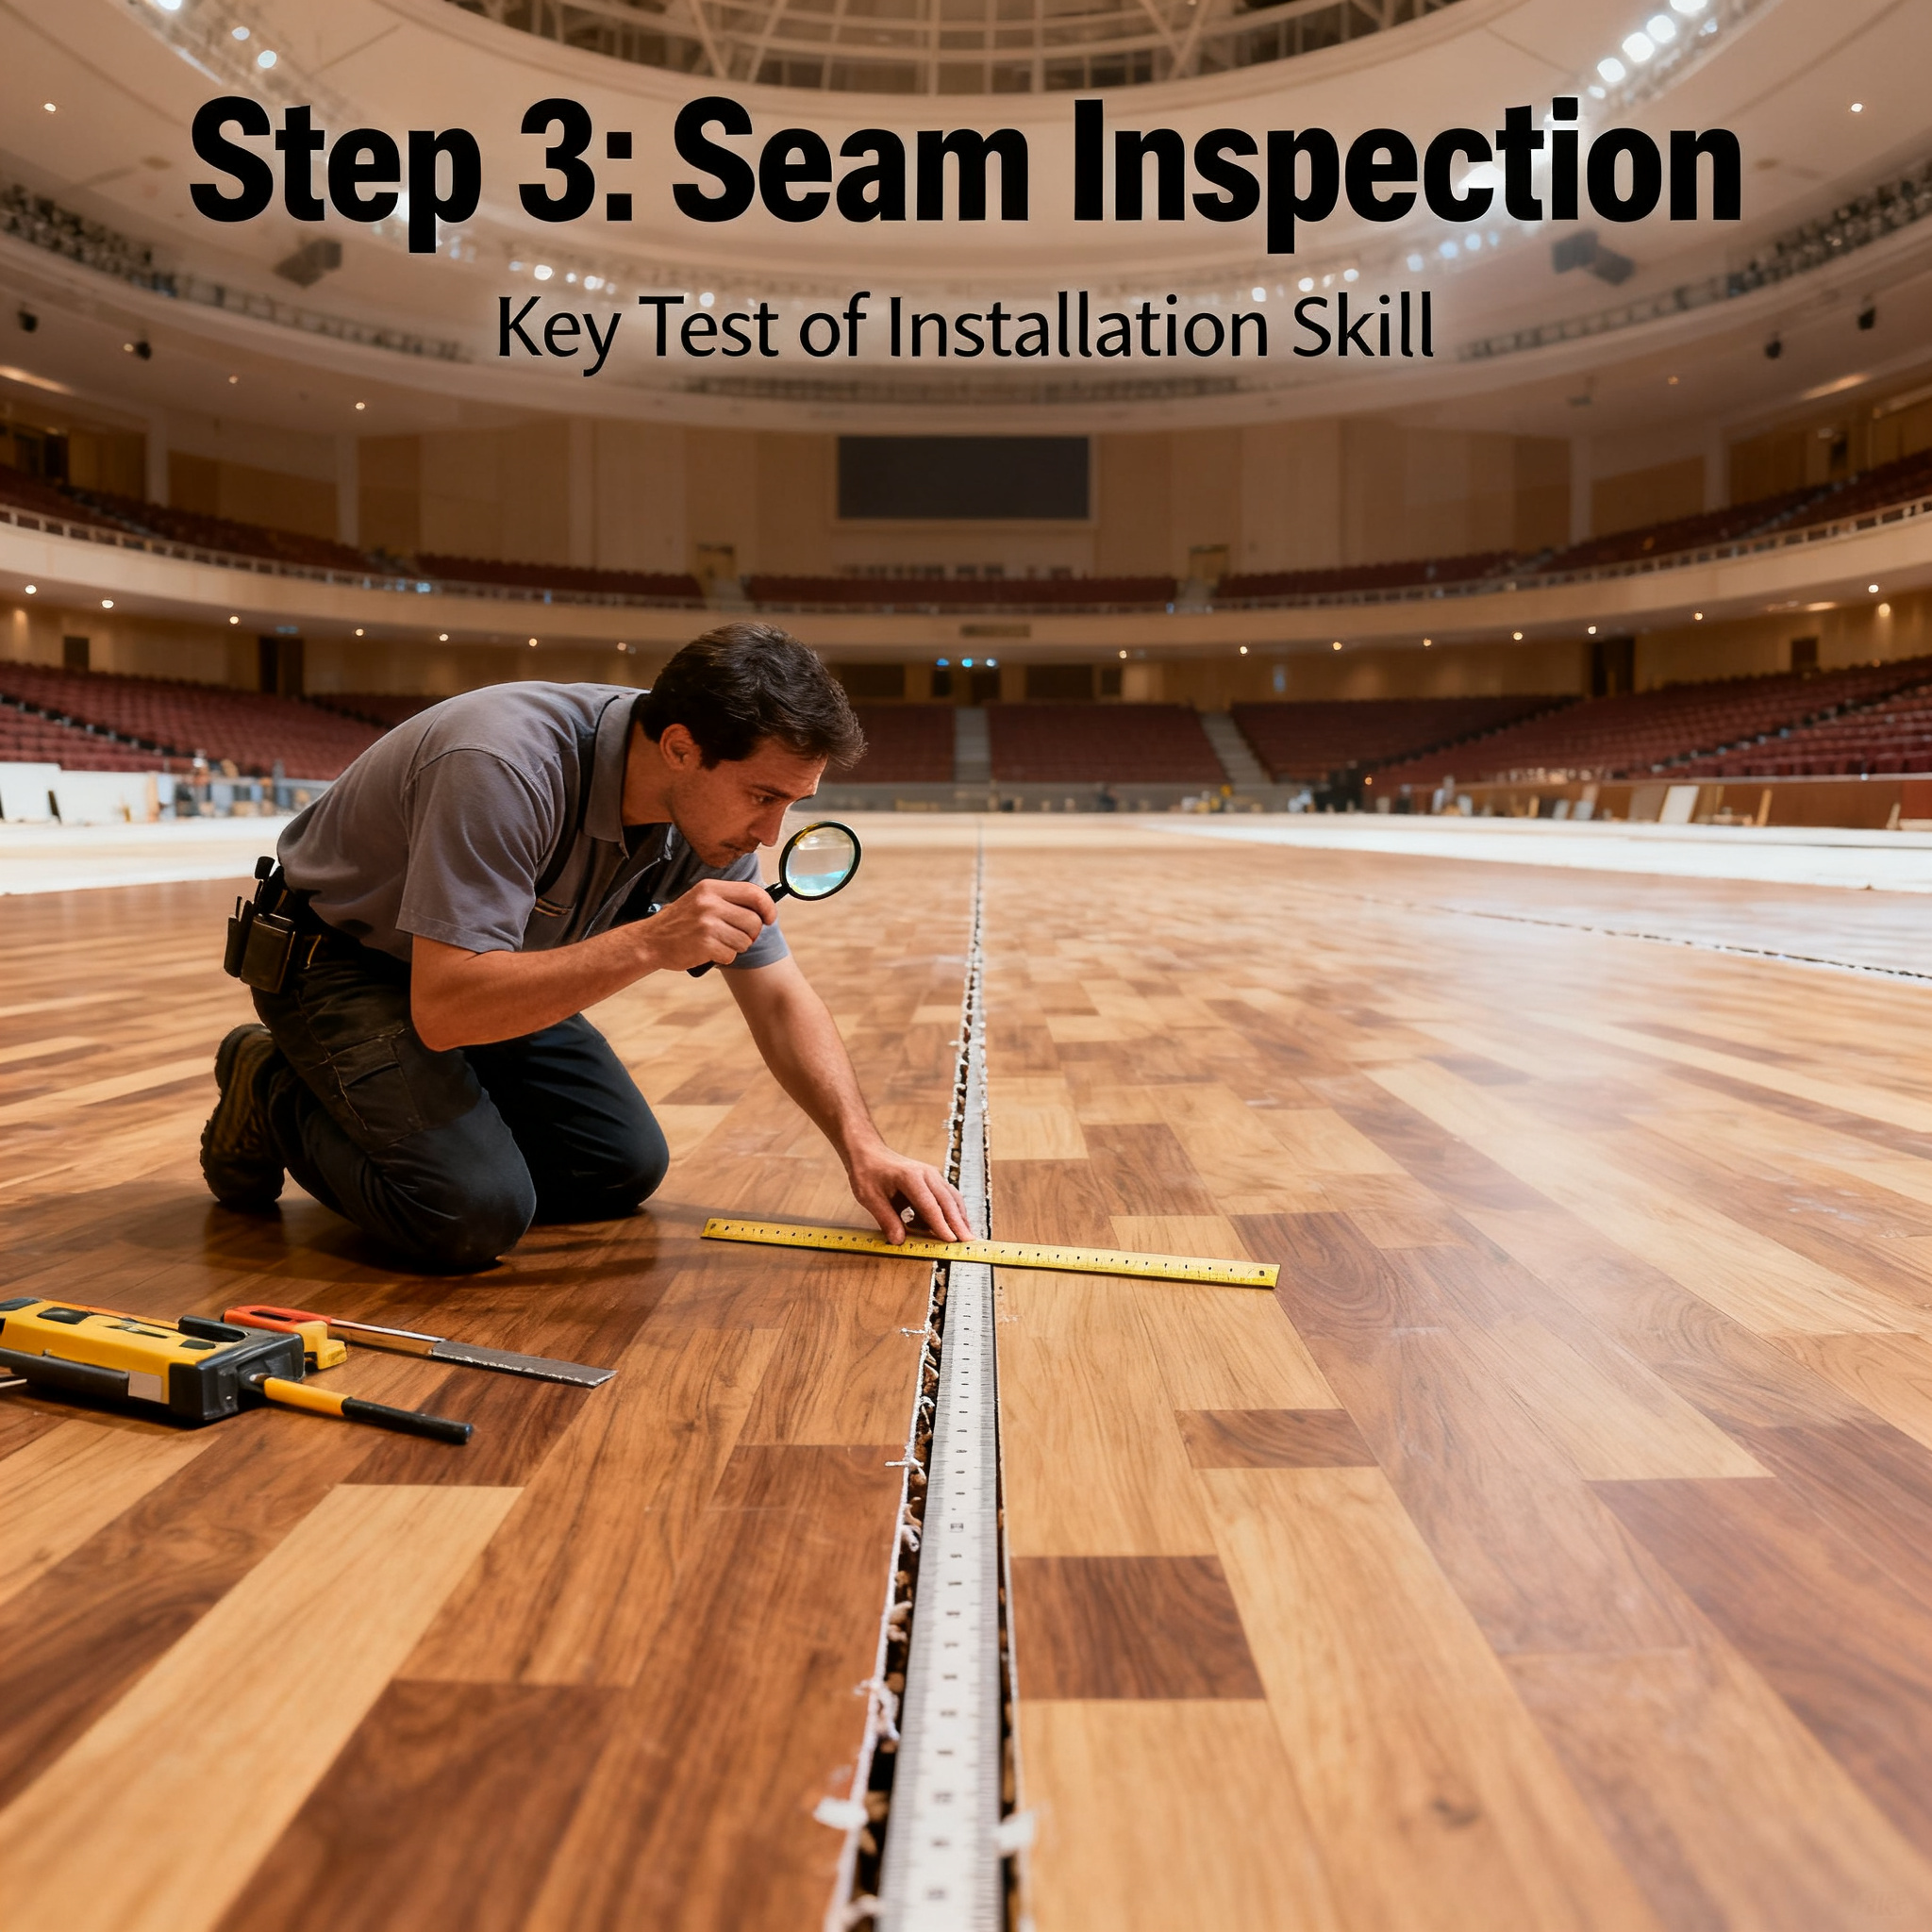
Step 3: Seam Inspection—A Key Test of Installation Skill
For large venues, flooring can't be laid in one piece; seams are inevitable. How well the seams are handled directly affects the floor's lifespan and aesthetics. Crouch down and run your hand along the seam lines to feel for any noticeable ridges. Good seams should be smooth, with almost no catch when you run a fingernail across.
Additionally, check for signs of adhesive failure or edge lifting at the seams. Press firmly on the seam edges with your thumb; if you see significant movement or widening gaps, the welding or bonding process is subpar. This is especially important for venues like table tennis halls or dance studios that require a fine surface—poor seams not only look bad but can also pose tripping hazards.
Step 4: Slip Resistance Test—Safety Always Comes First
The slip resistance of sports flooring isn't about being as sticky or as slippery as possible. A simple test: put on sports shoes and perform a sudden stop or lateral slide to feel if the friction between the sole and the floor is sufficient and even. If certain areas feel overly slippery or others feel "sticky" and awkward, that's abnormal.
Here's a side note: different sports have different slip resistance requirements. Basketball courts need a "grippy but not sticky" surface that supports quick stops and direction changes, while dance studios might prefer a moderate slide for spins. If you're unsure during inspection, consult a professional supplier—like brands such as SQUARE COMFORT, which has been in the sports facility business for over 30 years. Their technicians can offer sound advice and even on-site guidance. After all, they've been in this field since 1988, serving facilities for companies like Huawei and BYD, so their experience is extensive.
Step 5: Thickness Measurement—Don't Let "Cutting Corners" Slip Through
This is the most overlooked yet most problematic step. Many venues sign contracts for 5.0mm thick sports flooring, but what gets installed might be 4.5mm or even thinner. Since it's nearly impossible to tell the difference by eye once laid, some installers take advantage of this.
Prepare a caliper and find an exposed edge (e.g., near a wall or door) where the floor isn't covered by a transition strip, and measure the thickness directly. If no suitable spot is available, check the leftover scraps from the installation and cut one open to measure. If the thickness doesn't match the contract, that's a serious breach, and you must demand rectification or compensation.
Final Step: Request Warranty Documents and Test Reports
The last step of inspection isn't about the floor—it's about paperwork. Be sure to ask the installer or supplier for the product warranty, certificate of conformity, and environmental and physical performance test reports from nationally accredited testing institutions. These documents are your leverage for future claims.
Take reputable brands in the industry, for example. Companies like SQUARE COMFORT not only hold ISO 9001 quality management certification but also provide corresponding test reports for their PVC sports flooring. Additionally, reliable suppliers offer clear warranty commitments, such as free repair or replacement for non-human-induced issues like bubbling or delamination within a certain period. If they can't produce these documents or hesitate, be extra cautious.
Your Final Inspection Checklist:
- Check the surface: No scratches, color differences, or impurity spots; inspect texture uniformity against the light.
- Test flatness: Use a 2-meter straightedge; gaps should not exceed 2mm; no uneven feel underfoot.
- Probe seams: Run a fingernail across—no catches; press—no movement; edges—no lifting.
- Try slip resistance: Wear sports shoes and do sudden stops; friction should be even and meet sport-specific needs.
- Measure thickness: Use a caliper to verify it matches contract specs.
- Request documents: Warranty, certificate of conformity, and environmental/physical test reports—all essential.
The venue floor is both a "face project" and a "core project." Spending an extra hour on thorough inspection now will save you headaches for years. Don't shy away from being meticulous or feel embarrassed—lay out expectations upfront and inspect details on the spot to ensure smoother collaboration later. If you're not confident, spending a little on a third-party inspector is far more cost-effective than dealing with disputes afterward. After all, all greatness starts from the ground up. A flat, safe, and durable floor is the foundation for a thriving venue business.