
Renovating an Old Venue? Can You Lay Sports Flooring Directly Over Old Floors? A Complete Guide to Subfloor Preparation
Renovating an Old Venue? Can You Lay Sports Flooring Directly Over Old Floors? A Complete Guide to Subfloor Preparation
When renovating an old sports venue, the biggest headache often isn't choosing new materials—it's figuring out what to do with the existing floor beneath your feet. Lay directly over it, and you risk bubbling and curling edges. Tear it all out, and you're looking at a costly, time-consuming project. Many facility managers come to SQUARE COMFORT with the same first question: "Our floor is pretty level—can we just skip the hassle and lay the flooring directly?"
The answer is: yes, but with strict prerequisites. This guide breaks down the ins and outs of subfloor preparation to help you avoid costly mistakes.
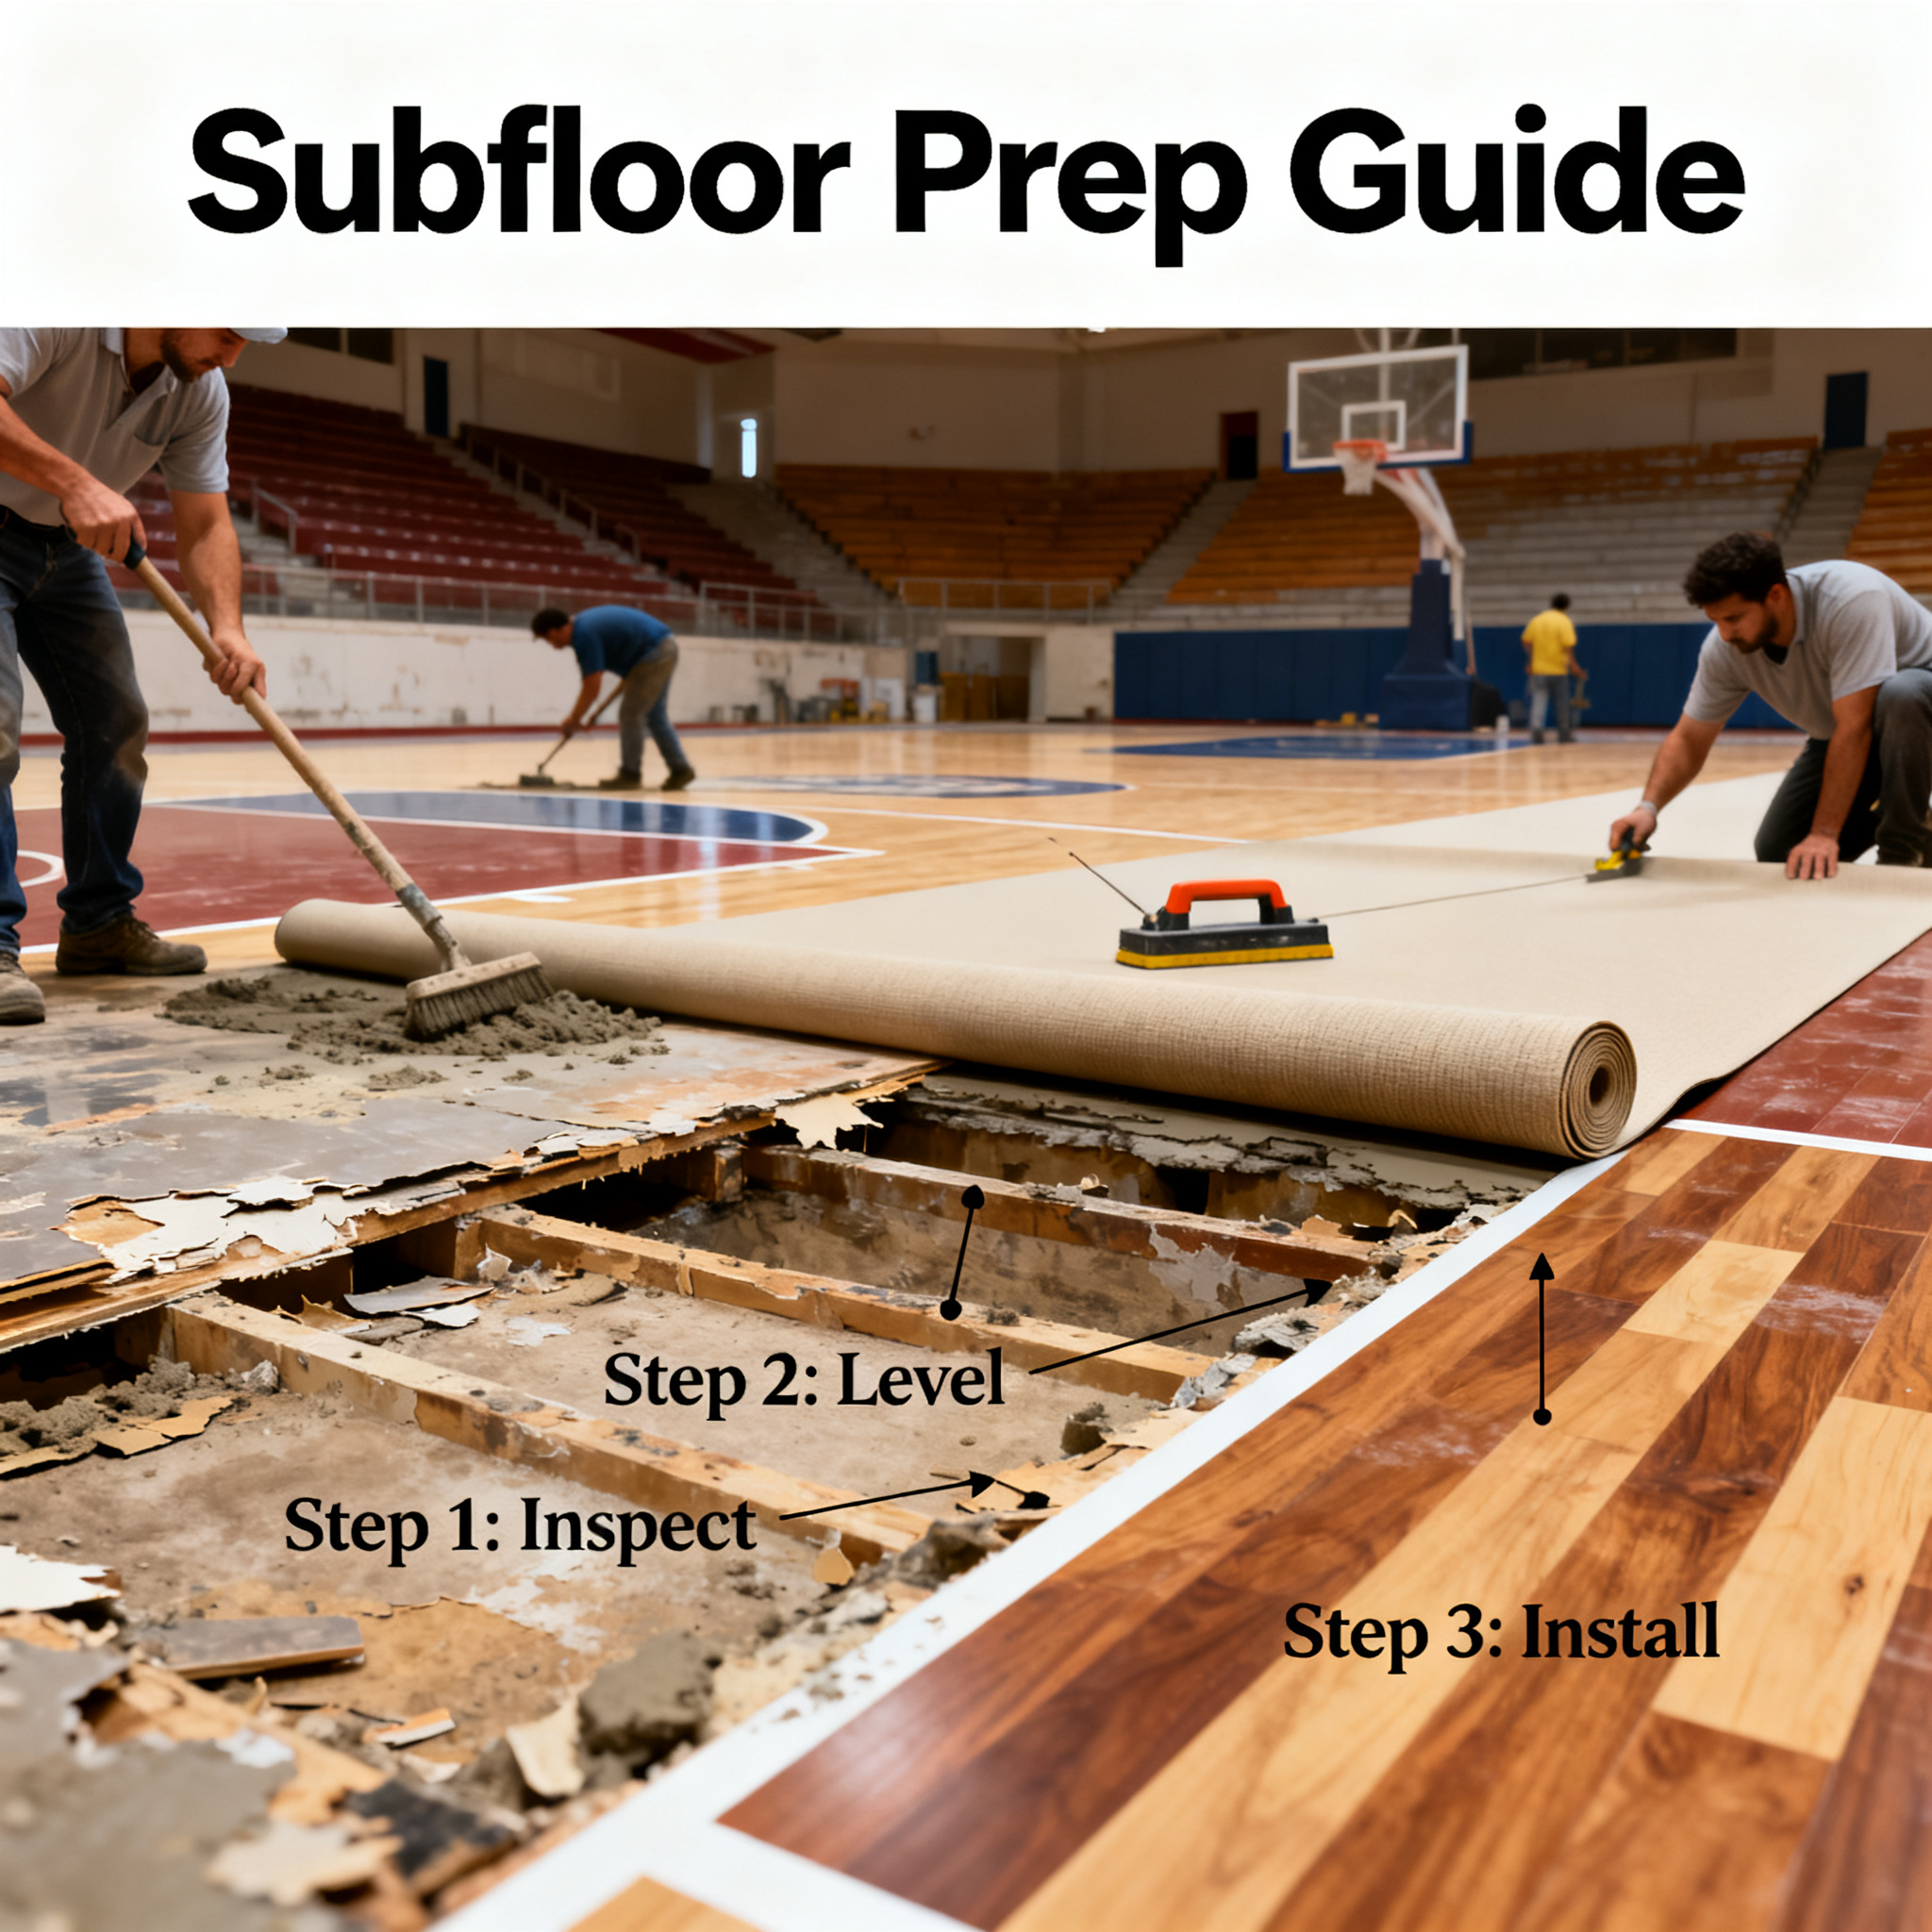
First, Know What's Under Your Feet
Old venue floors typically fall into three categories, each with its own quirks.
Concrete Floors: The most common, but also the most demanding. The surface may look solid, but moisture content is often high, and over time, dust and sanding are inevitable. If you lay flooring directly, the adhesive won't bond to the loose dust, leading to delamination within months.
Tile Floors: Smooth and usually level, but full of joints, and tiles are non-porous. Adhesive struggles to grip the glossy surface, and heavy foot traffic can cause the flooring to shift. Worse, if tiles are hollow, laying flooring over them will amplify the issue—you'll feel like you're walking on air bubbles.
Old PVC Flooring: The trickiest. The surface is aged, often with a waxy residue or grime, making it hard for new adhesive to bite. Plus, moisture and mold lurking beneath old flooring are invisible threats.
One Simple Test to Decide Whether to Remove
Place a 1-meter straightedge or level on the floor and use a feeler gauge to measure gaps.
- Localized unevenness within 2mm can be fixed with self-leveling compound.
- If you find obvious bumps or dips over 3mm, or large areas of hollow spots, sanding, or cracks, don't hesitate—remove the old floor and redo the subfloor.
Another often-overlooked factor: subfloor moisture content. Use a moisture meter—concrete should read below 8%. Otherwise, trapped moisture will rise and cause bubbles in your new flooring. No meter? Try the old-school trick: tape a plastic sheet to the floor for 24 hours and check for condensation underneath. It works.
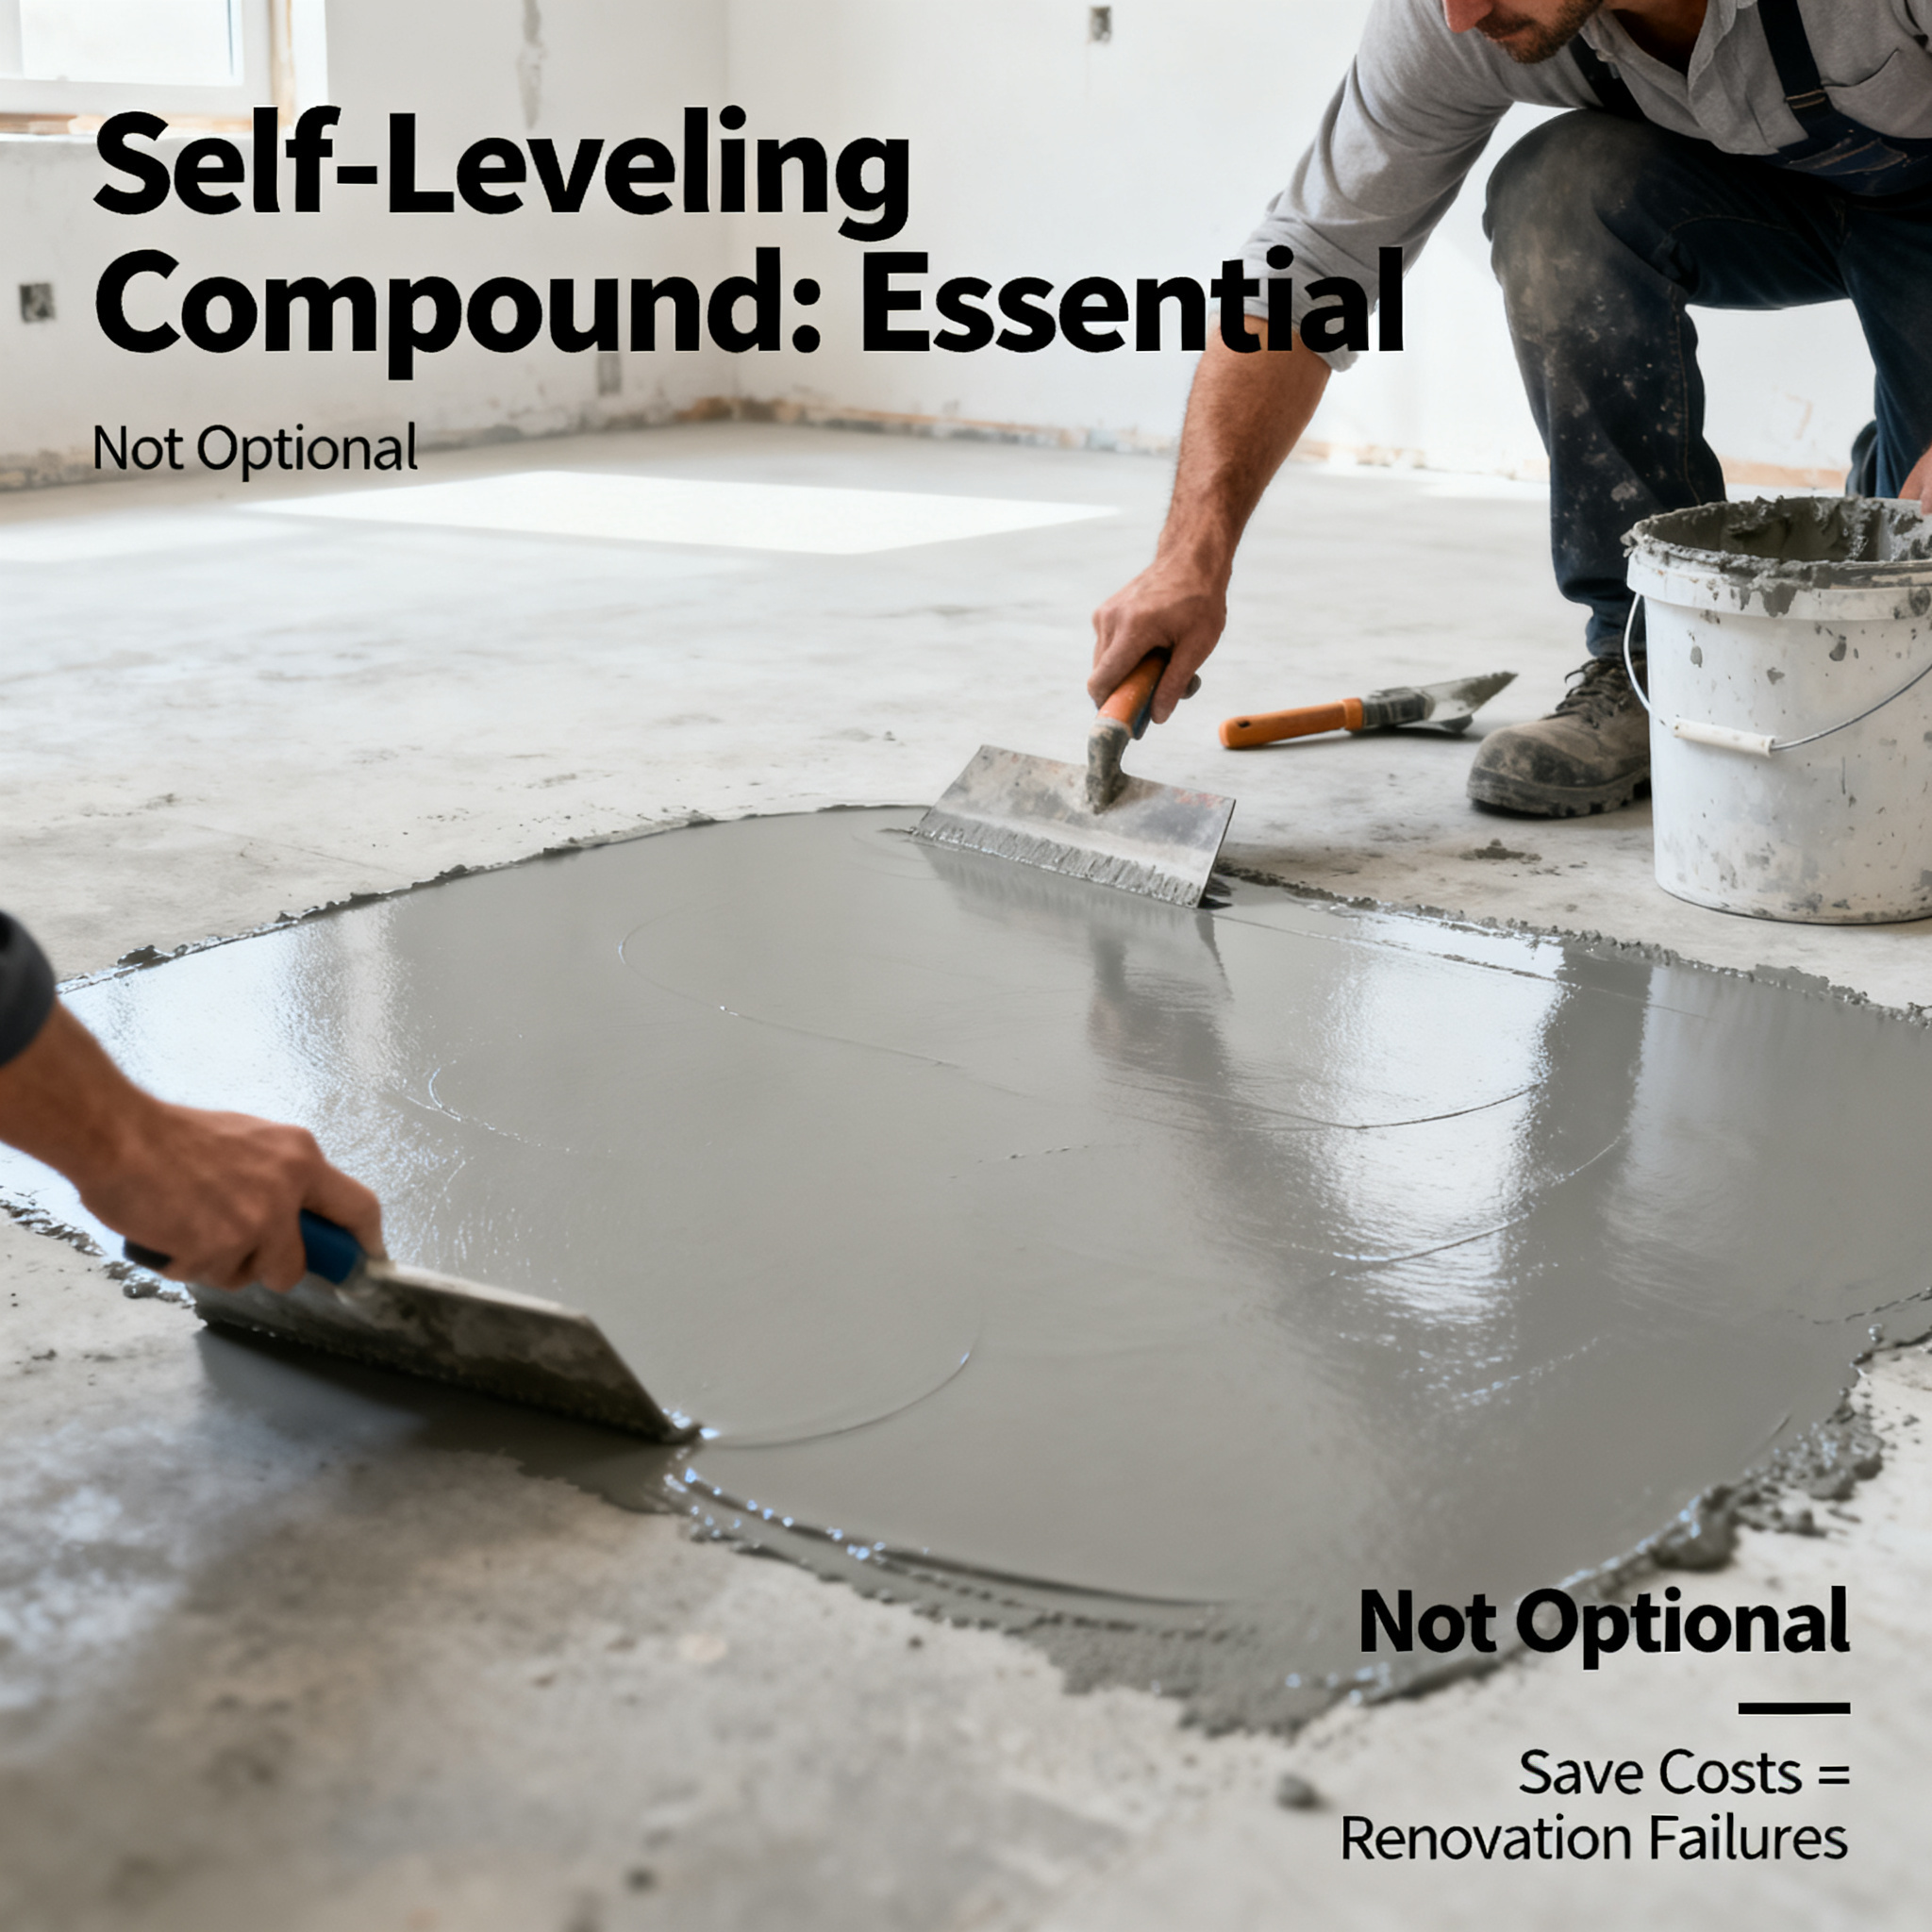
Self-Leveling Compound: Not Optional, Essential
Many renovation failures trace back to skipping self-leveling compound to save money. Its role isn't just cosmetic—it creates a truly flat, solid, and dry foundation for your flooring. It fills minor dips and seals the subfloor's pores to block moisture.
Pro tip: Mix and pour self-leveling compound within 20 minutes, spread with a notched trowel, and use a spiked roller to release air. Keep the thickness to 2-3mm, and wait at least 24 hours for it to cure—don't rush to lay flooring.
Cost Comparison: Two Approaches
Option A: Spot Repairs + Self-Leveling + Direct Lay
Ideal when the subfloor is generally sound with only localized issues. Costs mainly involve self-leveling material and labor—about one-third to one-half of a full removal. The timeline shrinks to 3-5 days, minimizing disruption to operations.
Option B: Full Removal + Re-Leveling + Installation
Necessary for severe sanding, extensive hollow areas, or old flooring that's damaged or moldy. Though the upfront cost is higher, it's a one-time fix that can double the lifespan of your new flooring.
A client's story is worth noting: A community badminton hall with tile floors tried the cheap route—laying directly over tiles. Six months later, edges curled up, and they had to tear everything out and start over, spending twice as much. When they later renovated their table tennis area, they did the subfloor properly and installed SQUARE COMFORT's table tennis flooring. Three years on, no issues. Save where you should, but never gamble on the essentials.
Step-by-Step Installation Process
- Subfloor Inspection: Check levelness, moisture, and hollow areas; mark problem zones.
- Subfloor Preparation: Remove loose sections, patch cracks, sand down bumps, and thoroughly vacuum. This step is messy but critical.
- Apply Primer: Seal the subfloor and enhance bonding between self-leveling compound and the base. Ensure even coverage—no missed spots.
- Self-Leveling Application: Mix with water per ratio, pour, spread with a gauge rake, and roll with a spiked roller.
- Curing and Drying: Keep doors and windows closed to prevent rapid drying and cracking. Wait 24-48 hours before proceeding.
- Pre-Lay and Cutting: Unroll the flooring and let it acclimate to the room temperature to relieve internal stress. Cut with 2-3cm extra margin.
- Adhesive Application: Use recommended professional adhesive, spread evenly, and lay once the adhesive is tacky (touch-dry).
- Rolling for Bonding: Use a roller weighing at least 50kg to press out air repeatedly; secure edges with transition strips.
- Seaming and Welding (if needed): Cut a V-groove along seams with a groover, weld with a hot-air welder, and trim excess after cooling.
Three Questions to Ask Before Renovating
- Are there obvious hollow or loose areas on the floor?
- Have you recently conducted a moisture test?
- Is subfloor preparation included in your budget?
If you can answer yes—or with certainty—to all three, your renovation is already half won. In old venue upgrades, the ground is everything. A solid subfloor ensures your surface material performs at its best. SQUARE COMFORT has years of hands-on experience in sports flooring, from table tennis and badminton halls to dance studios and commercial spaces. If you're stuck on subfloor decisions, send them photos of your site—their team can recommend a safer renovation plan.
After all, every great athletic performance starts with the ground beneath your feet.