
The Ultimate Guide to Sports Flooring Installation: From Subfloor Preparation to Acceptance, Step-by-Step Tips to Avoid Pitfalls
The Ultimate Guide to Sports Flooring Installation: From Subfloor Preparation to Acceptance, Step-by-Step Tips to Avoid Pitfalls
Anyone who has installed sports flooring knows the saying: "30% material, 70% installation." No matter how good the flooring is, if the installation goes wrong, issues like bubbling, edge lifting, and seam cracking will follow—affecting aesthetics at best and shortening the lifespan at worst. Today, based on real cases from SQUARE COMFORT's years of service in badminton halls, table tennis halls, dance studios, and more, we'll break down the entire sports flooring installation process in detail, helping you steer clear of those common pitfalls.
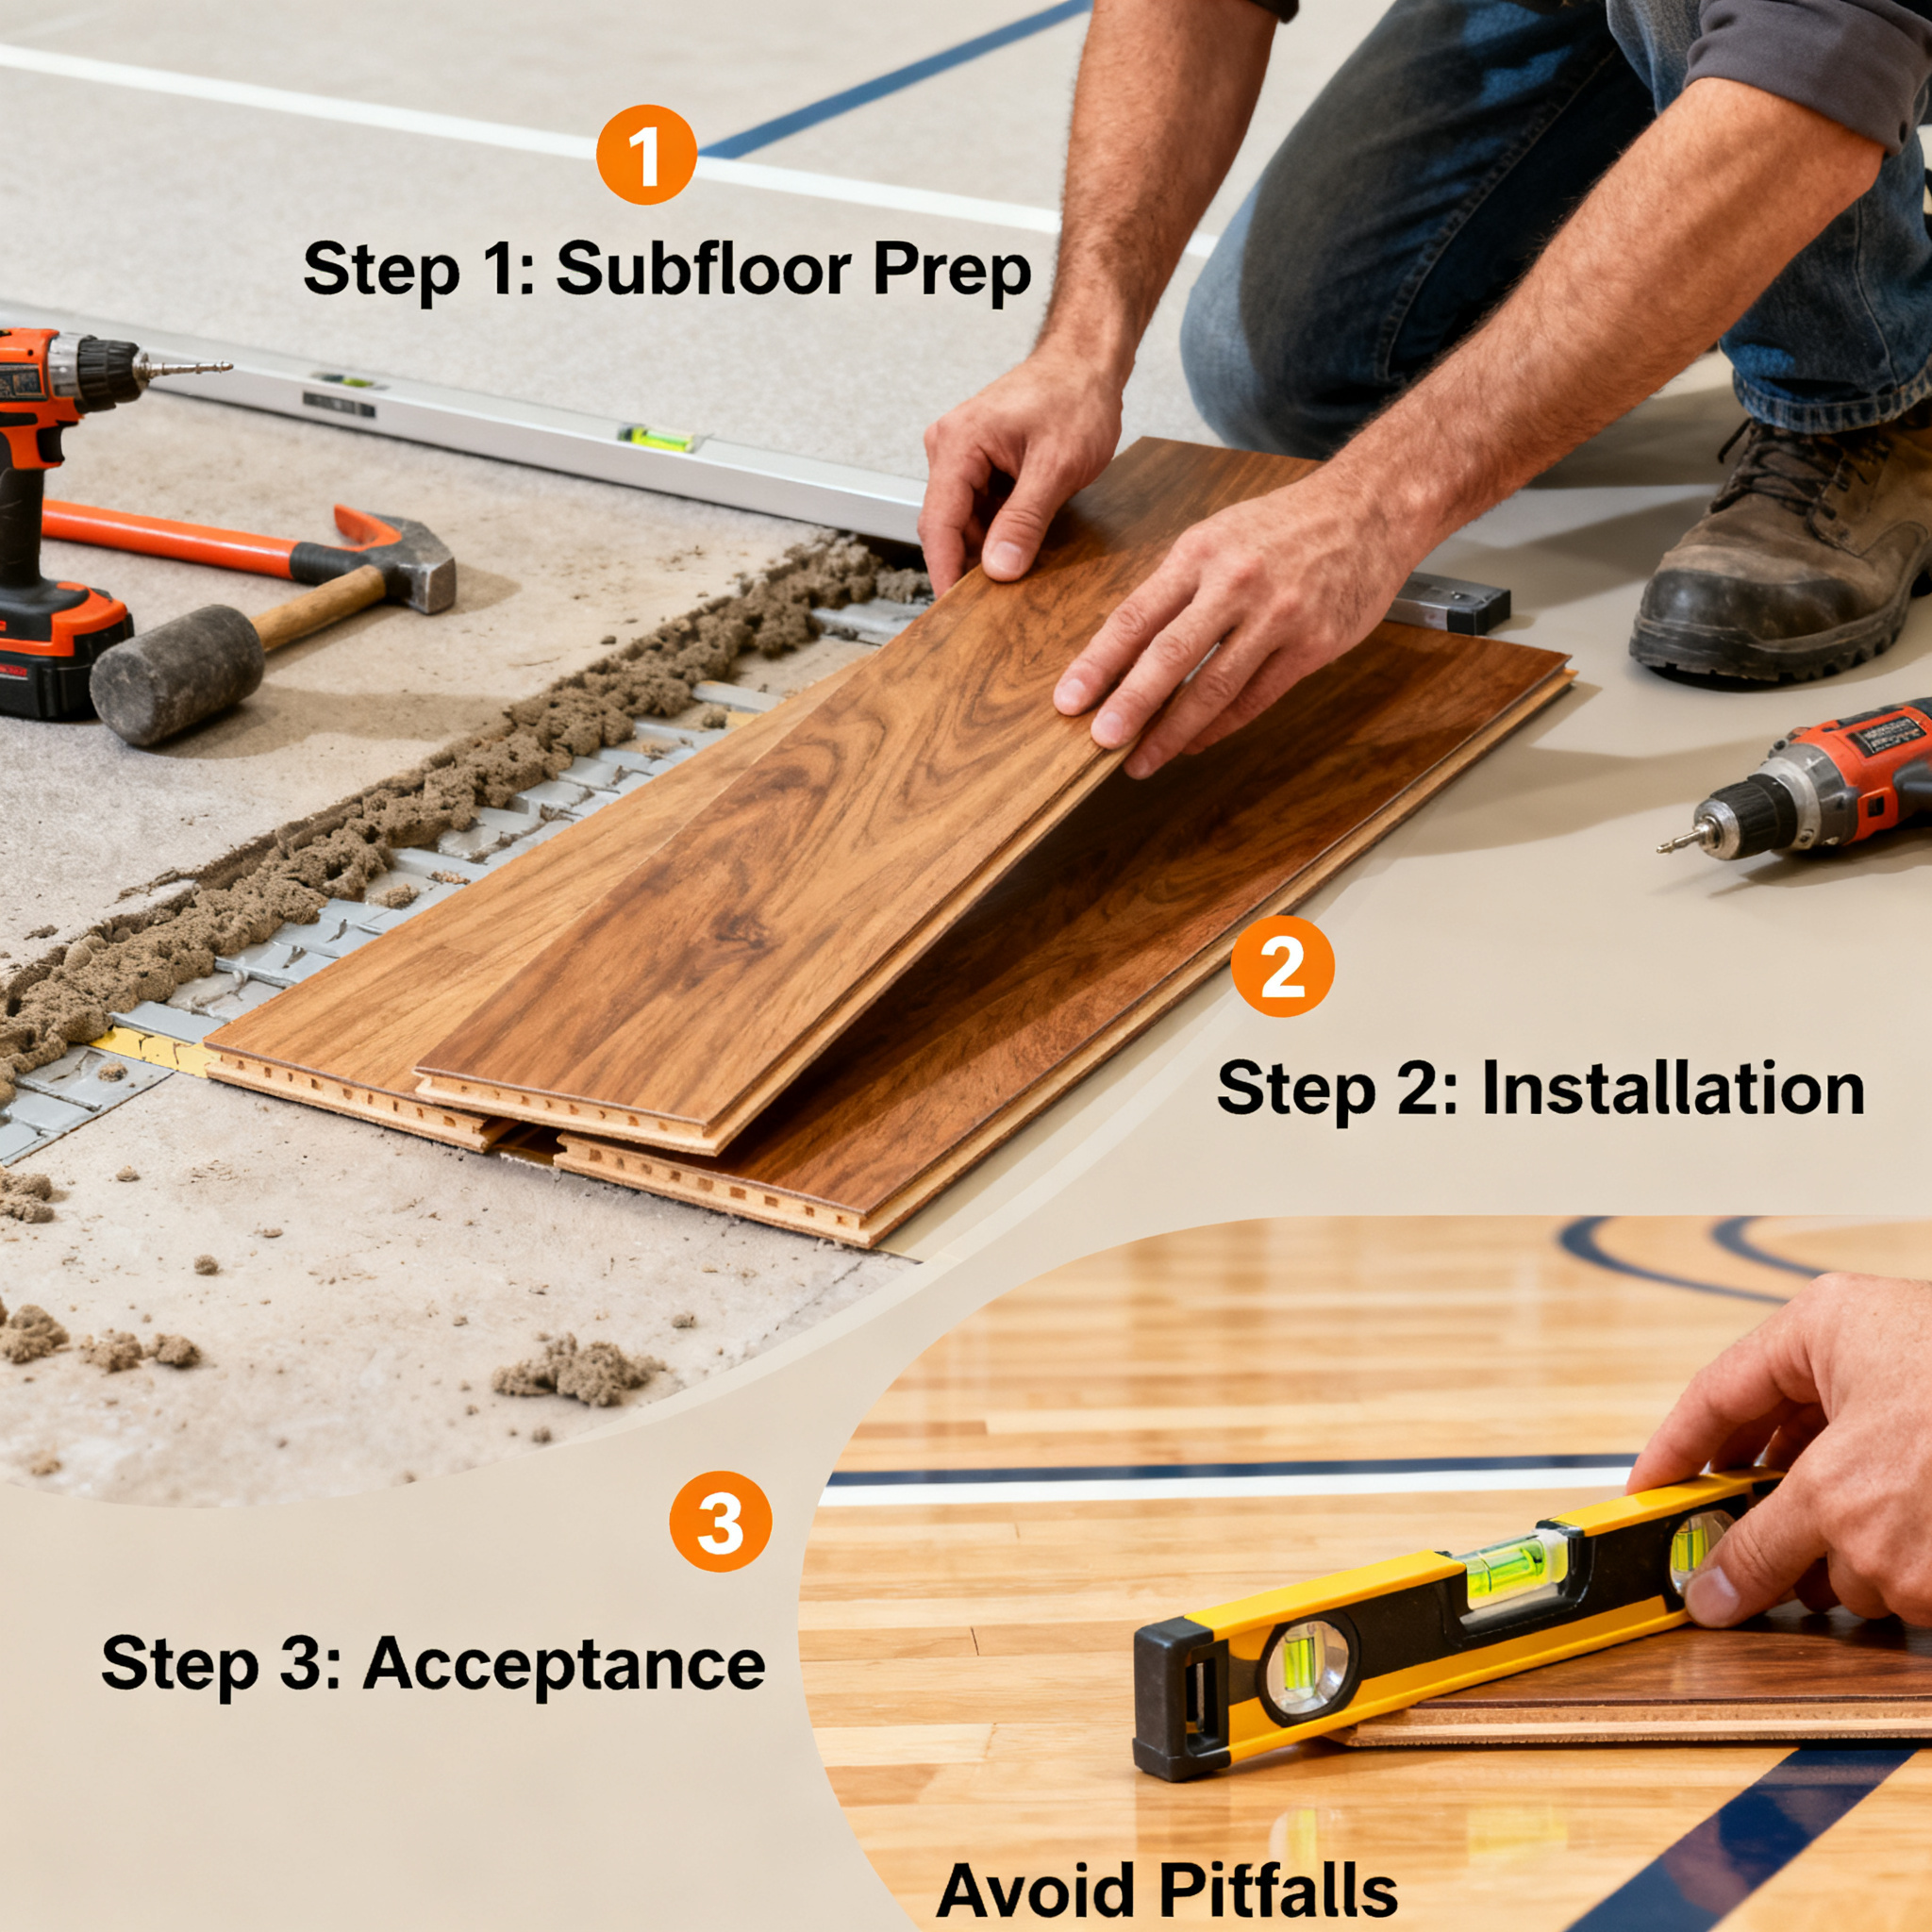
Step 1: Subfloor Inspection and Preparation—The Invisible Foundation of Success
Many people think laying sports flooring is just "peel off the backing and stick it down," but that's the biggest misconception. Subfloor preparation is the most tedious yet critical part of the entire process.
First, the subfloor must be dry. The moisture content of the concrete floor should not exceed 4.5% (which can be measured with a moisture meter); otherwise, moisture will rise over time, creating "vapor pressure" beneath the flooring, and bubbling is inevitable. A simple test: lay a 1-square-meter plastic sheet flat on the floor, seal the edges with tape, and after 24 hours, if water droplets appear on the inside of the sheet, the subfloor is too damp—you must wait for it to dry completely or apply moisture barrier treatment.
Second, the subfloor must be level and solid. Use a 2-meter straightedge to check; gaps should not exceed 2 mm. If the floor has sanding, hollow spots, or cracks, be sure to repair and level it with self-leveling compound first. Remember one detail: after applying self-leveling compound, wait for it to fully cure (usually at least 24 hours), then sand and dust it; otherwise, after the flooring is laid, those fine particles will cause tiny bumps on the surface, making it "squeak" underfoot.
Common Mistake Warning: Laying flooring on a damp or not fully dried subfloor to meet deadlines is the number one cause of bubbling in sports flooring. Don't gamble on luck.
Step 2: Adhesive Selection and Application—The Invisible Bonding Power
Flooring installation comes in two types: "full adhesive application" and "partial adhesive application." For sports venues like badminton and basketball courts, full adhesive application is strongly recommended. Why? Because frequent sudden stops and jumps during play create significant shear forces at the base of the flooring; partial adhesive application (only at seams) can lead to shifting and hollow spots over time.
Adhesive selection should match the flooring material. For PVC sports flooring, use specialized water-based adhesive or two-component polyurethane adhesive. Pay attention to an environmental indicator: the VOC (volatile organic compounds) content of adhesive from reputable brands must meet standards. For instance, SQUARE COMFORT insists on using eco-friendly adhesives in project delivery, ensuring no pungent odors in the venue after installation—this is one reason they've been able to undertake sports space projects for corporate headquarters like Huawei, BYD, and Vanke.
When applying adhesive, use a notched trowel to spread it evenly in strips or zigzag patterns, with an application rate of about 350-400 grams per square meter. After application, don't rush to lay the flooring; wait for the adhesive to "tack off"—when you touch the adhesive surface with the back of your fingers and it feels slightly sticky but doesn't stick to your hand (usually 10-20 minutes, depending on ambient temperature and humidity), that's the optimal time for laying.
Common Mistake Warning: If you lay the flooring too soon after adhesive application, the adhesive hasn't set yet, causing slipping and misalignment; if you wait too long, the adhesive surface forms a skin, significantly reducing bonding strength. Mastering this "window period" relies entirely on experience.
Step 3: Key Techniques for Flooring Laying—Details Define Quality
When laying, it's recommended to start from the centerline of the venue and work outward to both sides, ensuring even margins on both sides. After unrolling the flooring roll, don't peel off the backing paper immediately; let it "rest" in the installation environment for over 24 hours to acclimate to temperature and humidity, releasing internal stress—this is called "dimensional stabilization."
During actual laying, use a rolling method to press from the center outward, squeezing out air between the flooring and adhesive. One detail that's easy to overlook: flooring has a front and back side; make sure the direction is consistent before laying. Especially for flooring with patterns or directional designs, if the direction is reversed, it will show color differences under light, looking very unsightly.
During laying, leave a 5-8 mm expansion gap between the flooring and walls—this is the "breathing space" for the flooring to expand with heat. If it's pressed tight against the wall, the flooring will buckle when temperatures rise.
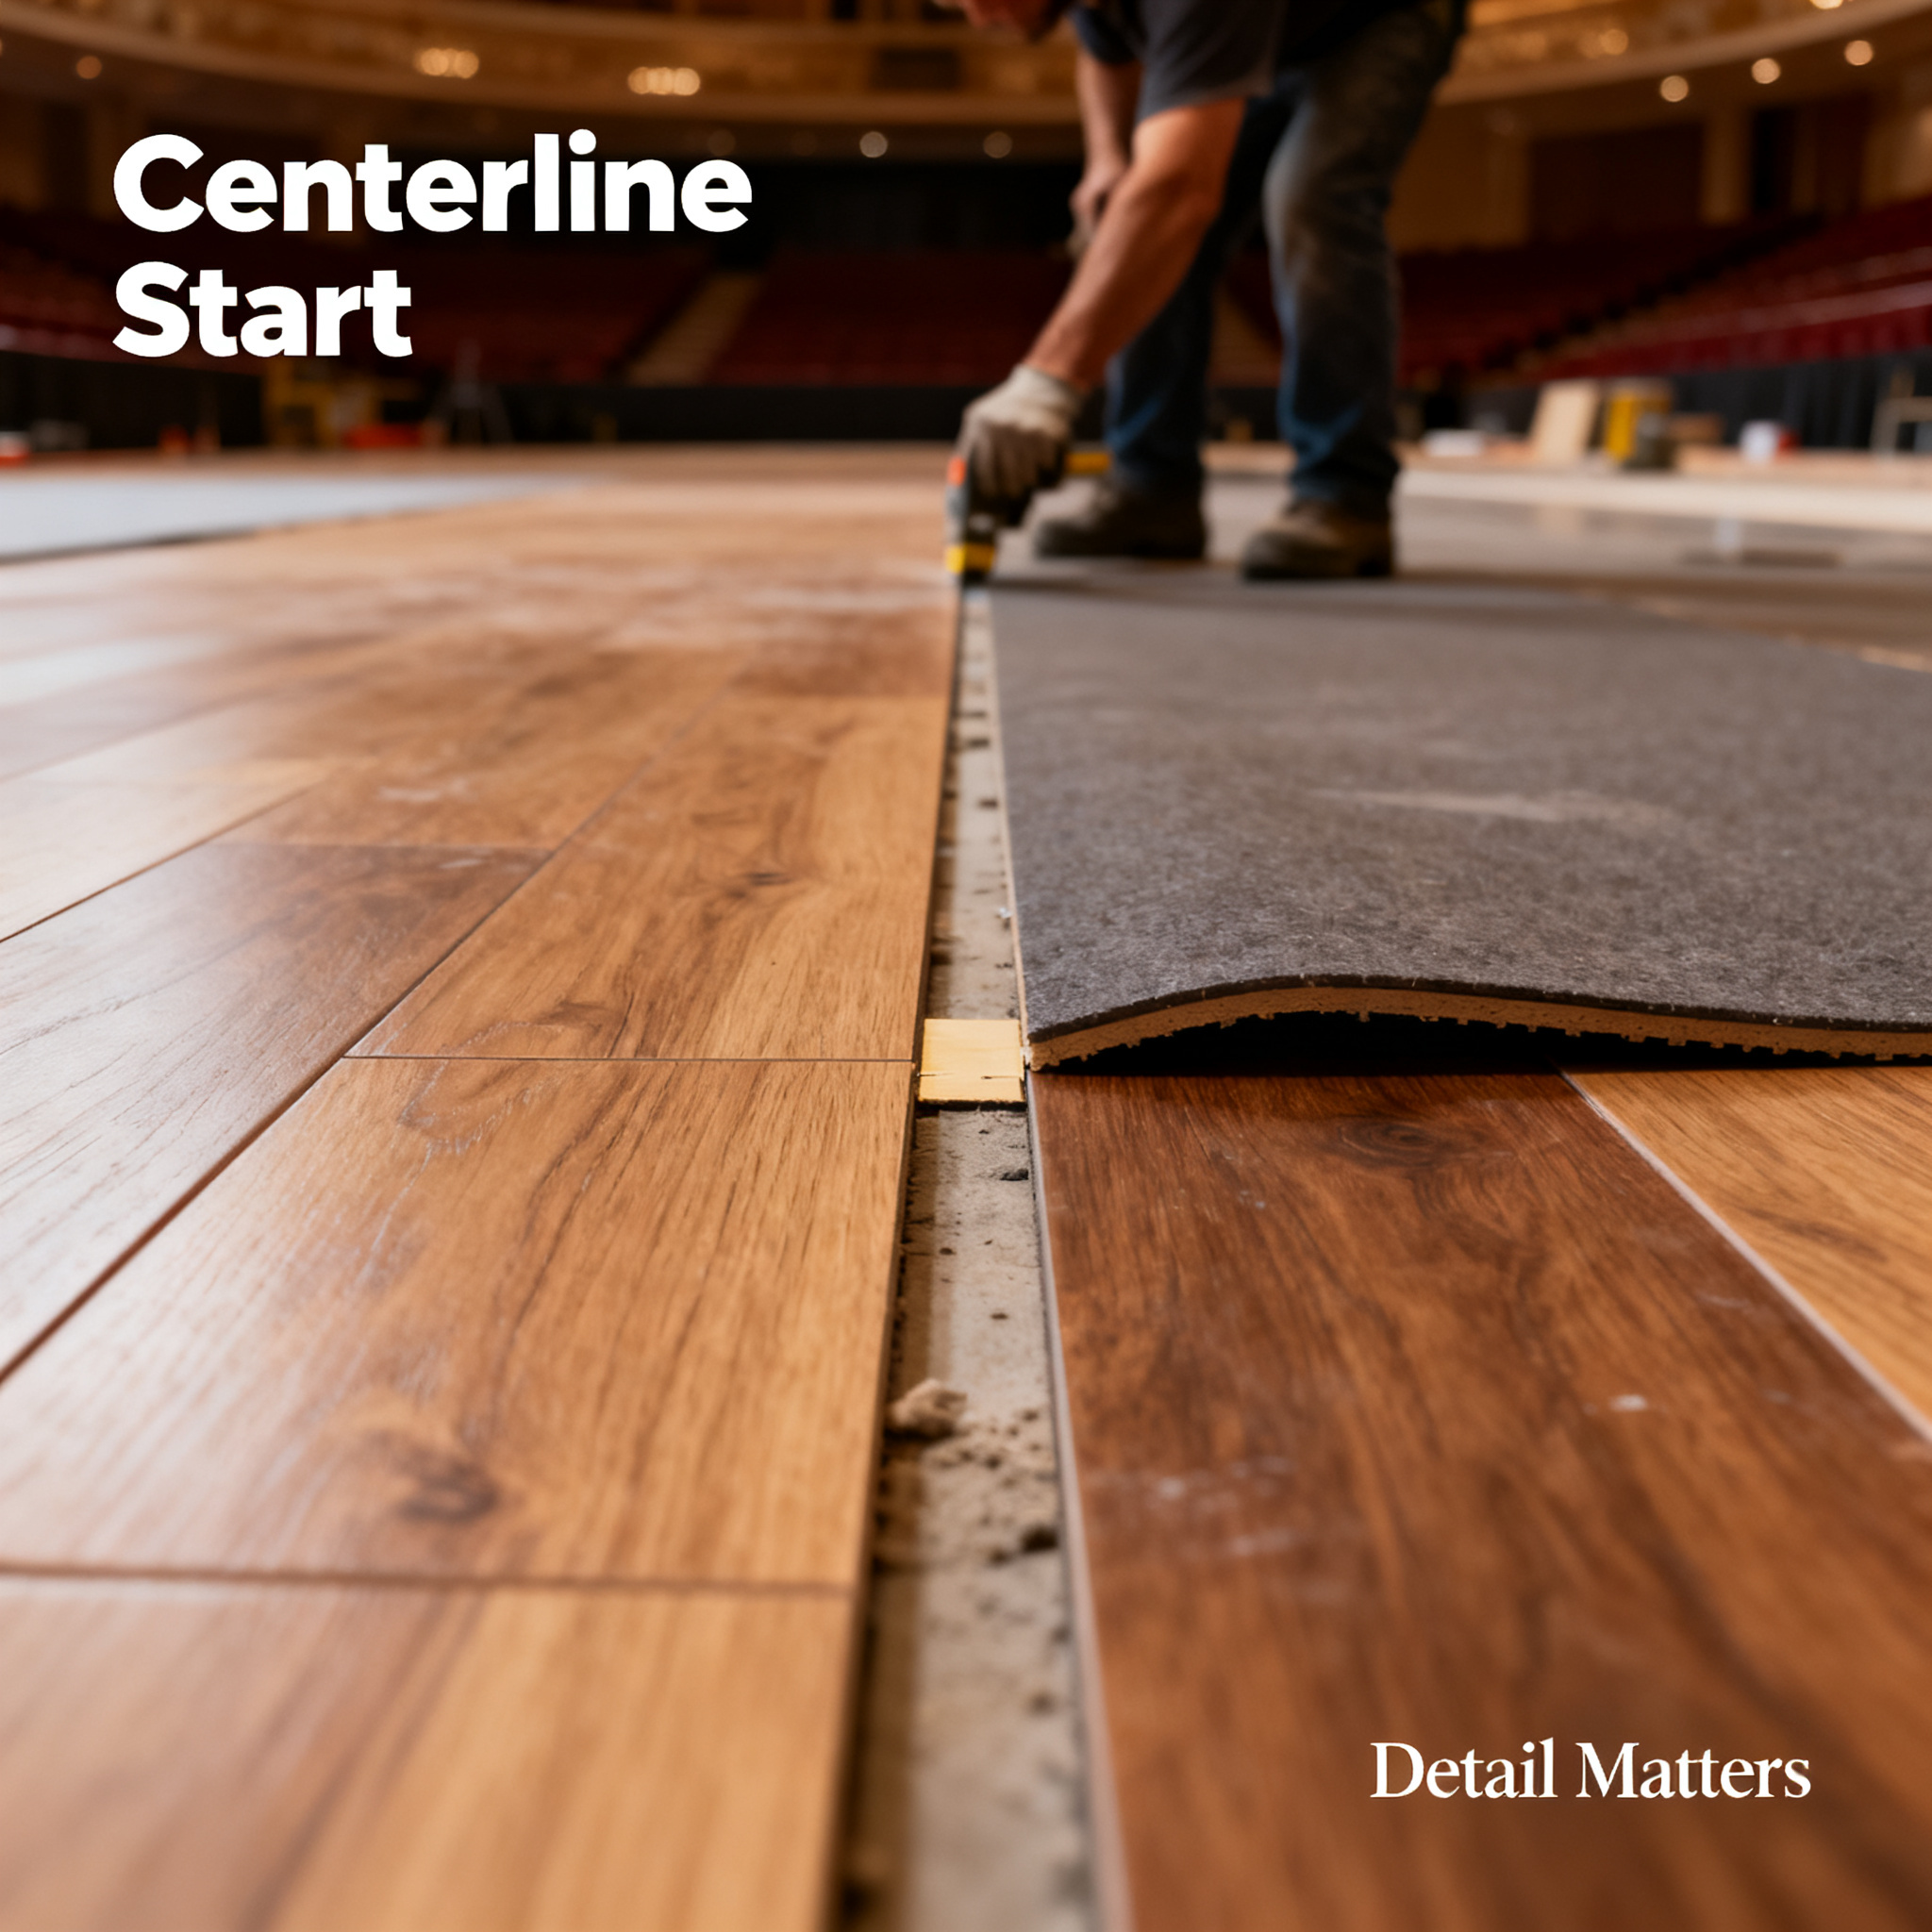
Common Mistake Warning: When walking on the laid flooring, avoid shoes with sand or grit on the soles; a single grain of sand can leave a permanent indentation on the freshly laid surface. Installers should wear soft-soled, clean shoe covers.
Step 4: Air Removal, Pressing, and Seam Treatment—The Final Fine Work
After laying, use a roller weighing over 50 kg (steel or water-filled rubber roller) to repeatedly roll from the center outward, thoroughly expelling any residual air. Pay attention to overlapping areas during rolling to ensure every spot is pressed. For edge areas where the roller can't reach, use a wooden block and hammer to gently tap.
Seam treatment is where craftsmanship truly shows. Overlap the edges of two flooring pieces slightly, then use a straightedge and cutter to cut through both layers in one pass, creating a perfectly matched seam. After removing the trimmed strips, apply specialized seam welding solution or use hot-melt welding at the seam. For hot-melt welding, the welding rod should protrude slightly above the flooring surface; after cooling, use a specialized scraper to level it in two passes—first rough, then fine—and finally sand it smooth.
Common Mistake Warning: If adhesive residue or dust remains at the seam, a black line will appear after welding, which is very noticeable. Within 24 hours after welding, avoid loading or walking on the seam area.
Step 5: Acceptance Standards—Don't Rush to Pay the Final Installment
During acceptance, focus on the following aspects:
- Surface Flatness: Use a 2-meter straightedge; gaps in any direction should not exceed 2 mm.
- Seam Quality: Seams should be smooth, tight, with no cracks, depressions, or obvious color differences. Run your hand over the seam; there should be no noticeable step.
- Hollow Spot Check: Gently tap the floor with a rubber mallet and listen for hollow sounds. If hollow areas exceed 5% of a single piece's area, rework is needed.
- Visual Inspection: No bubbles, wrinkles, or scratches; color should be uniform.
After passing acceptance, one more thing: protect the finished work. Avoid foot traffic for 48 hours and heavy equipment for 7 days after installation. For example, SQUARE COMFORT's after-sales team provides users with a detailed "Maintenance Manual" upon delivery, covering cleaning tools, waxing frequency, and stain treatment—these thoughtful services are why they've served over 10,000 users globally with a strong reputation.
Sports flooring installation—every step hides lessons from those who came before. A damp subfloor, adhesive left too long, seams not cut straight, insufficient roller weight—any oversight will come back to haunt you in future use. If you're planning to install sports flooring, I hope this guide helps you avoid unnecessary detours. If the project feels too technical and you'd rather not handle it yourself, you can also turn to professional teams like SQUARE COMFORT, which offer full-process technical guidance and support—from subfloor inspection, installation, to acceptance and delivery—giving you true peace of mind. After all, a floor will serve you for years; a little extra care upfront ensures worry-free use down the road.