
Winter Low-Temperature Flooring Installation: Overlook These Details and Risk Losing It All!
Winter Low-Temperature Flooring Installation: Overlook These Details and Risk Losing It All!
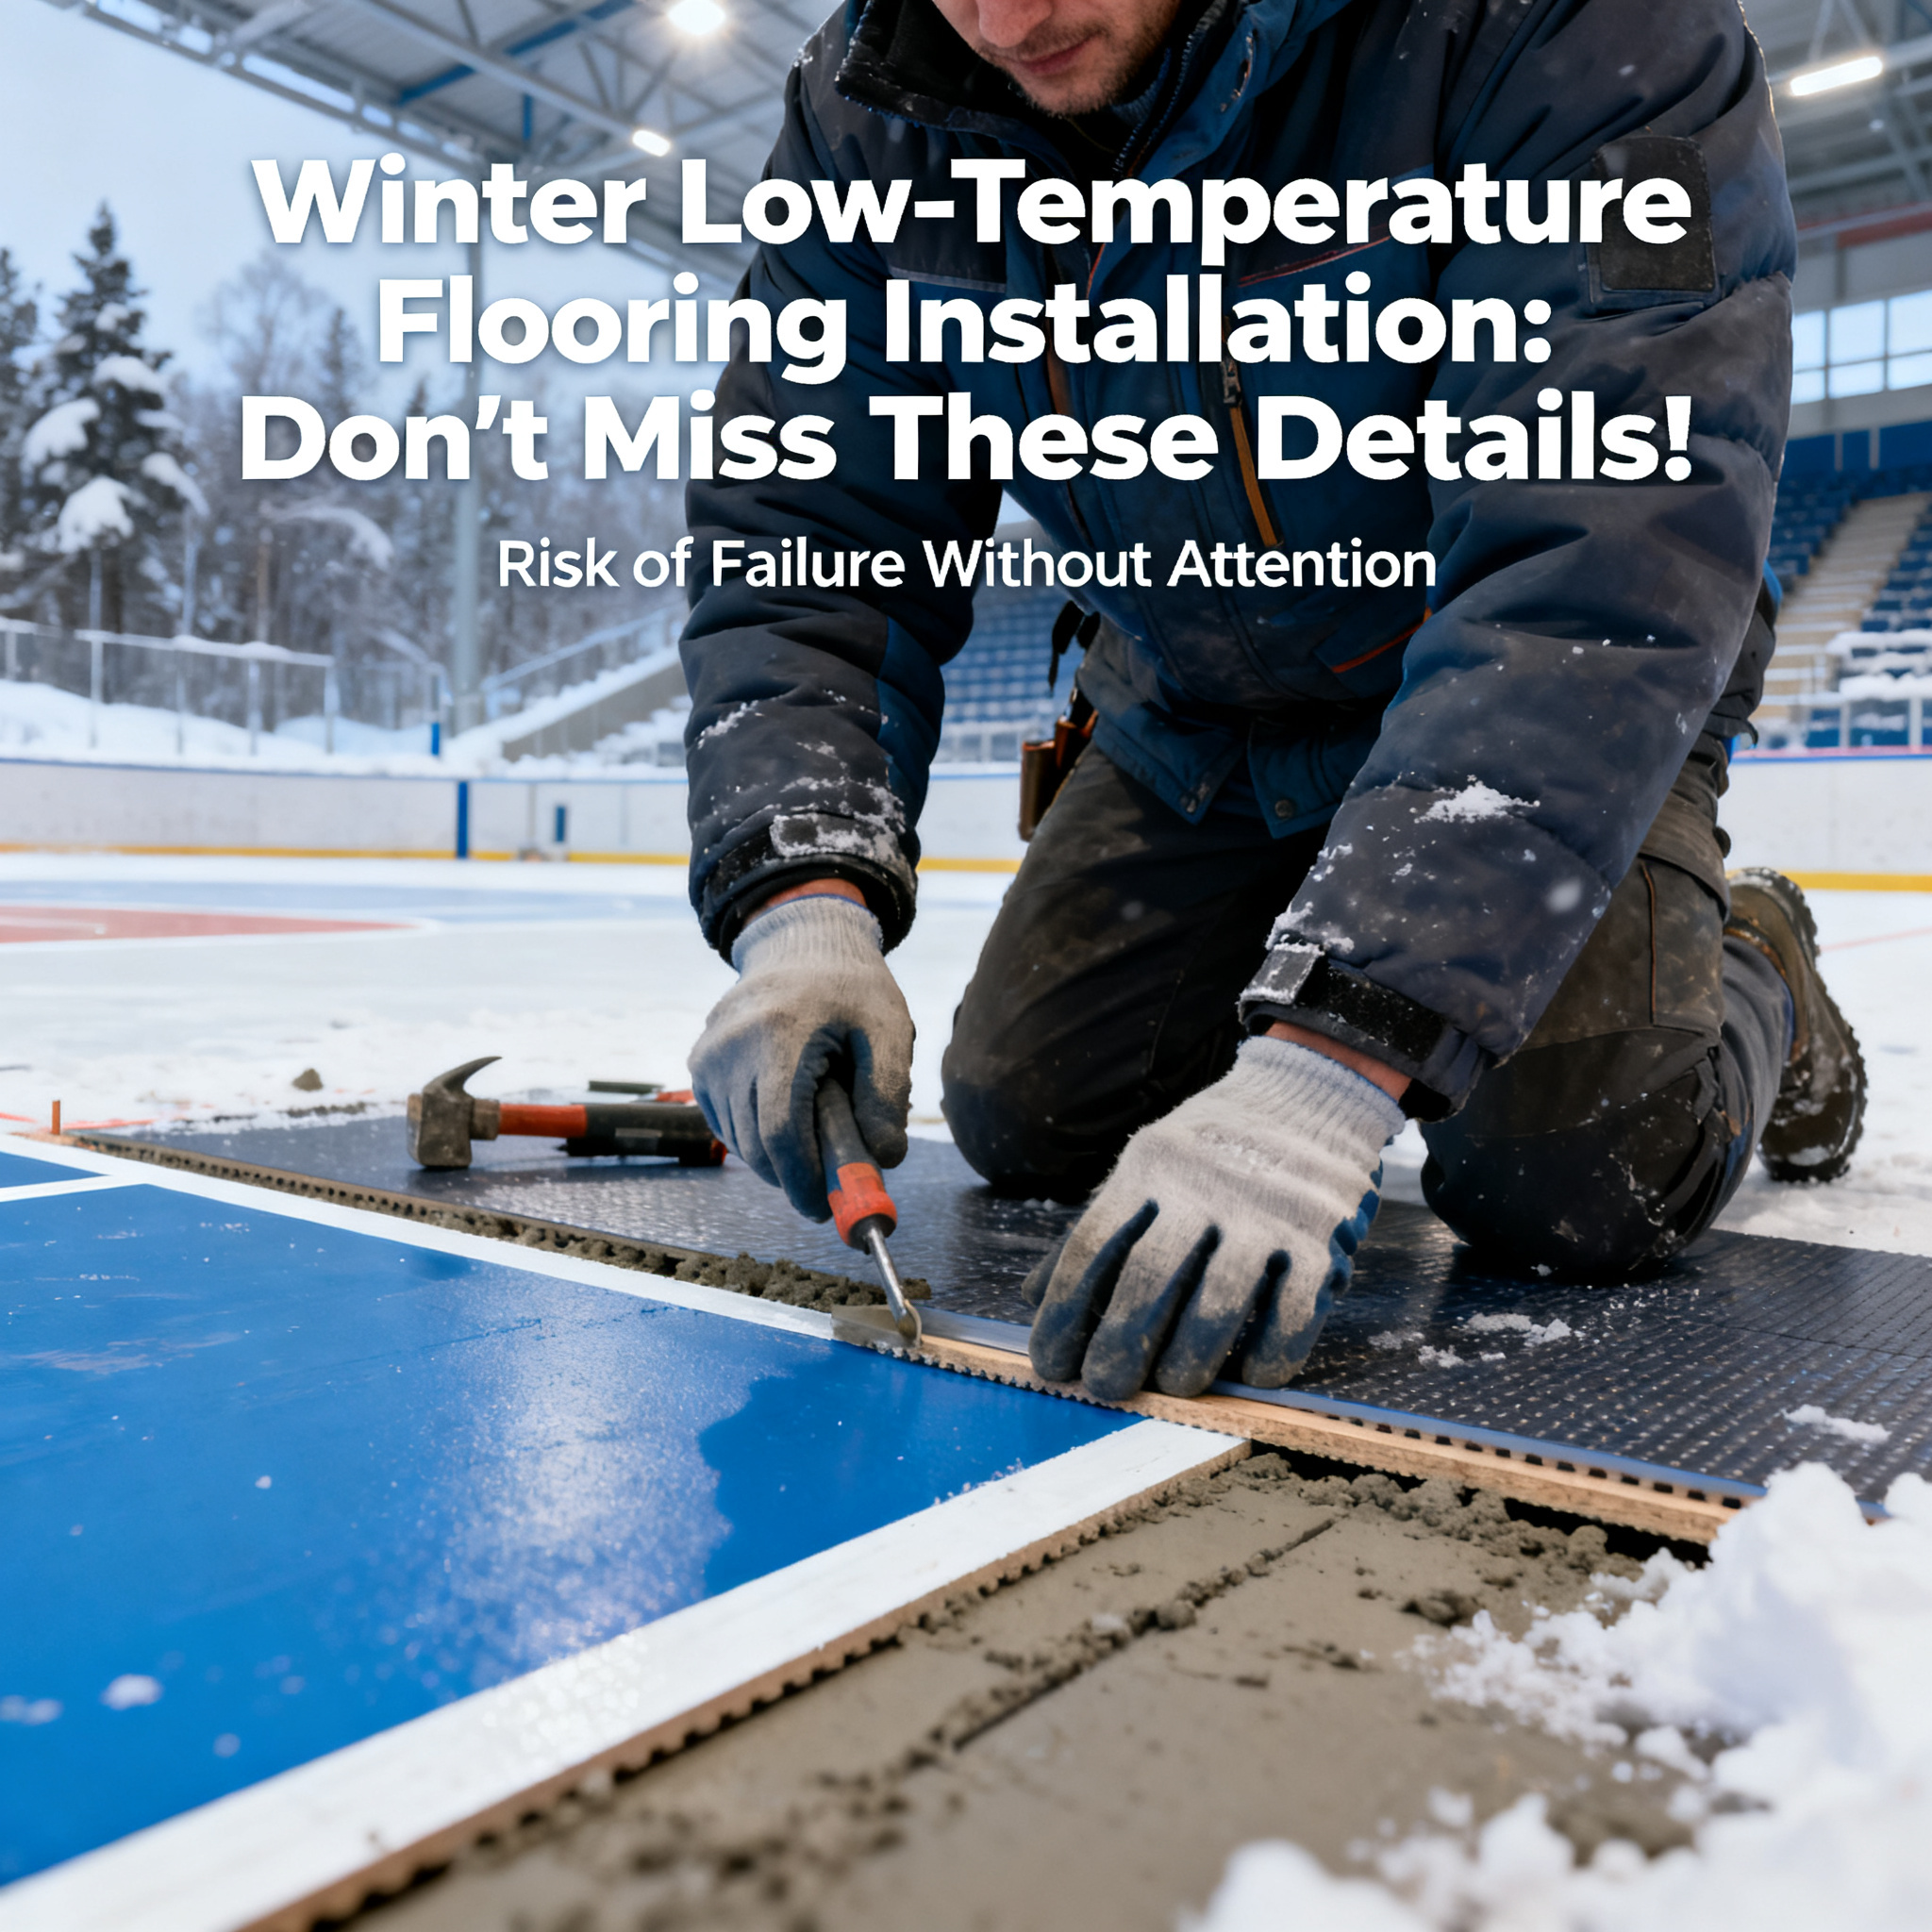
Every winter, sports facility construction projects in northern regions enter a delicate window period. Many construction teams rush to complete and hand over venues before year-end, pushing ahead with PVC sports flooring installation. However, low-temperature installation often hides numerous "invisible pitfalls." If you rely solely on experience from normal-temperature seasons, you may face issues ranging from bubbling and seam gaps to complete floor failure, wasting all your upfront investment and effort.
As a long-time service provider for various sports venues, the technical team at SQUARE COMFORT has identified through annual winter inspections that most winter installation failures stem from a few easily overlooked details. Today, we'll share practical insights to thoroughly explain low-temperature construction precautions, helping you avoid these "deal-breaking" traps.
Don't Rush to Unpack Materials—Let the Flooring "Warm Up" First
PVC sports flooring is primarily made of polyvinyl chloride, a material highly sensitive to temperature. When ambient temperatures drop below 15°C, the flooring becomes stiff, and its flexibility significantly decreases. If you forcibly unroll and install it under such conditions, internal stress that's hard to reverse may develop, leading to surface cracks and reduced rebound performance.
Many experienced workers know about "temperature acclimation," but doing it correctly requires finesse. The right approach: after the flooring rolls arrive at the site, don't immediately unpack them. Instead, stand them upright in the installation area and let them acclimate at room temperature for at least 24 to 48 hours. During this period, the temperature inside and outside the rolls gradually equalizes. Importantly, if the site has heating or air conditioning, avoid placing the rolls directly against heat sources, as rapid localized warming can cause excessive temperature differences, leading to deformation.
A simple way to check if the flooring is fully acclimated: touch the roll surface—if it doesn't feel cold, and pressing the edge with a fingernail yields noticeable elastic feedback, it's ready for installation.
Adhesive Curing Times Change—Is Your Construction Pace Keeping Up?
In winter, adhesive is the biggest variable. Water-based and solvent-based adhesives cure at completely different rates in low temperatures. Even with the same adhesive, for every 5°C drop in temperature, initial tack time and full curing time can extend exponentially.
Many crews are used to the summer routine of "apply adhesive, wait 10 minutes, then lay flooring," and they replicate this in winter. The result: the flooring doesn't bond properly, edges curl up days later, or bubbles appear underfoot. In winter, after applying adhesive, you need to extend the open time to allow moisture or solvents to evaporate fully. The key isn't timing but touch—when the adhesive feels slightly tacky but not sticky to the back of your hand, it's the optimal moment for laying.
Another often-missed detail is adhesive storage temperature. Many adhesive buckets sit in freezing warehouses and are only brought to the site when needed. Cold adhesive becomes thicker, spreads unevenly, and loses bonding strength. The correct practice is to move adhesive into the installation area 24 hours in advance or use a warm water bath (not direct heating) to help it acclimate.
Subfloor Temperature Matters More Than Room Temperature—Don't Be Fooled by Surface Readings
Many teams only monitor air temperature, ignoring floor temperature. Concrete subfloors retain cold effectively in winter; even with indoor heating, surface temperatures can be 3 to 5°C lower than room temperature. If the subfloor temperature falls below 10°C, adhesive bond strength drops significantly.
More critically, subfloor moisture is a major issue. In winter, large temperature differences between indoors and outdoors cause condensation on floors. If you apply adhesive without proper moisture barriers, as temperatures rise later, moisture seeps upward, causing discoloration, mold, or even full delamination. Therefore, before winter installation, always test subfloor moisture content with a moisture meter. If it exceeds 4%, apply a moisture barrier first.
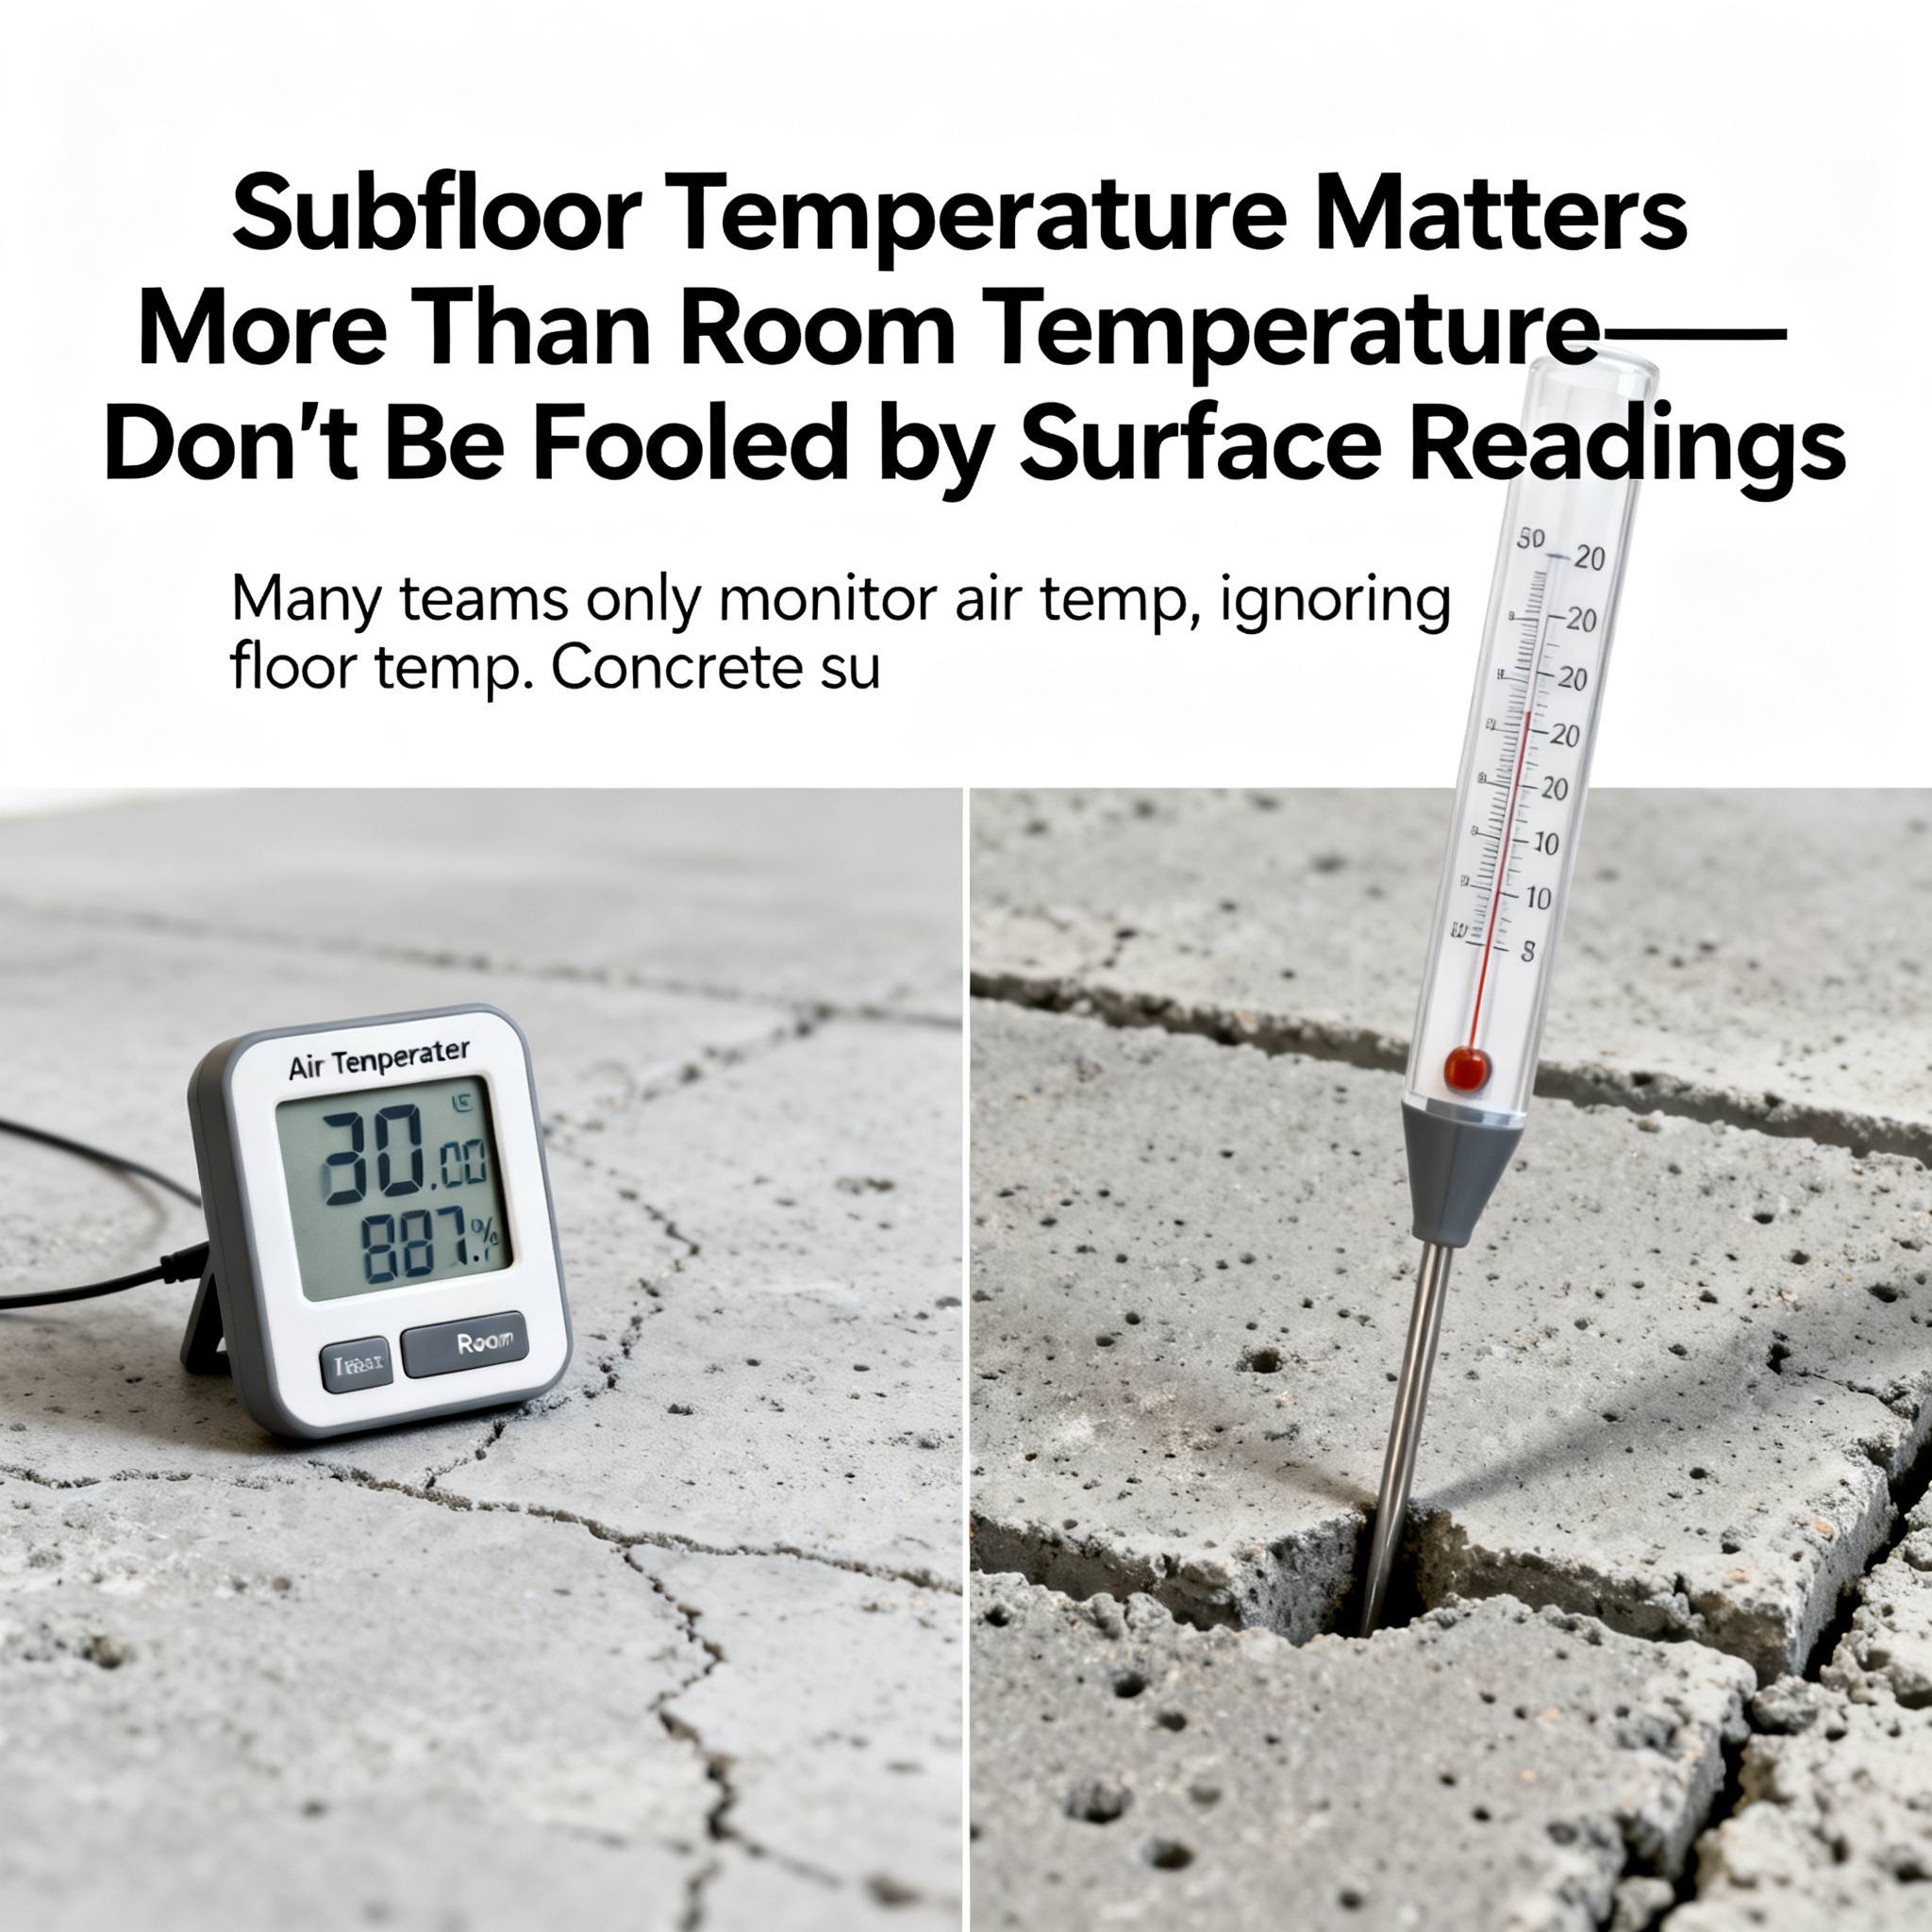
SQUARE COMFORT encountered a case during past project follow-ups: a northern city gymnasium completed flooring installation just before a snowstorm. The room temperature read 16°C, seemingly adequate, but the floor temperature was only 8°C. The crew skipped subfloor temperature checks and proceeded, only to see large-scale wavy undulations the following spring after heating was turned off. The floor had to be torn up and reinstalled, resulting in heavy losses. This lesson should serve as a warning to all construction teams.
Thermal Expansion Is No Joke—Expansion Joints Need Careful Planning
Winter installation also brings a hidden issue: thermal expansion and contraction. When flooring is laid in low temperatures, the material is in a contracted state. As temperatures rise in spring and summer, the flooring naturally expands. If it was installed too tightly without adequate expansion space, the flooring will compress against itself, creating raised "ribbed" patterns at seams.
Thus, for winter installations, expansion gaps along walls should be slightly larger than in summer. Typically, leave 5 to 8 mm gaps at wall edges. For larger venues, install intermediate expansion joints at regular intervals. Additionally, don't rush to weld seams on the same day; wait 24 hours after installation to let the flooring adapt to site temperatures, reducing seam misalignment from temperature changes.
Installation Isn't the End—Curing Period Determines Lifespan
In low temperatures, adhesive cures slowly, so the curing period after winter installation needs to be extended. While 24 hours might suffice in summer, in winter, avoid heavy loads and foot traffic for at least 48 to 72 hours. If possible, maintain venue temperatures above 15°C for 3 to 5 days post-installation to ensure full adhesive curing.
Also, in winter, flooring surfaces tend to accumulate static electricity and attract dust. When cleaning, avoid using large amounts of water with mops, as rapid temperature changes accelerate material aging. Use a slightly damp soft cloth for wiping, and place dust mats at venue entrances to reduce abrasive wear from sand particles.
Final Thoughts
Winter flooring installation tests not only material quality but also the experience and responsibility of the construction team. Every seemingly minor detail can lead to vastly different outcomes months later. Choosing a brand and team that emphasize process control can save you many detours. As SQUARE COMFORT has always believed—pay attention to small details, value process specifics, and monitor subtle changes in results. Whether it's laying a single floor or completing an entire venue, all projects that stand the test of time stem from meticulous attention to every detail.
If your region faces winter construction challenges or you have uncertainties about flooring installation or maintenance, feel free to leave a comment below. We'll provide practical suggestions based on our experience. Ensuring every floor is laid securely and every venue remains like new for years—that's our core mission.