
Learning from Scratch: Complete Tool Checklist and Step-by-Step Installation Guide for Sports Flooring
Learning from Scratch: Complete Tool Checklist and Step-by-Step Installation Guide for Sports Flooring
Many people think laying PVC sports flooring in their own gym or activity room is a job best left to professionals. But when it comes time to do it yourself, facing a pile of rolls, welding wires, and tools, you realize there's more to it than meets the eye. In reality, with the right tools and a clear process, a standard badminton or table tennis court of 200-300 square meters can be completed by two or three people in just a few days. Today, we'll break down everything you need—tools and steps—from scratch.
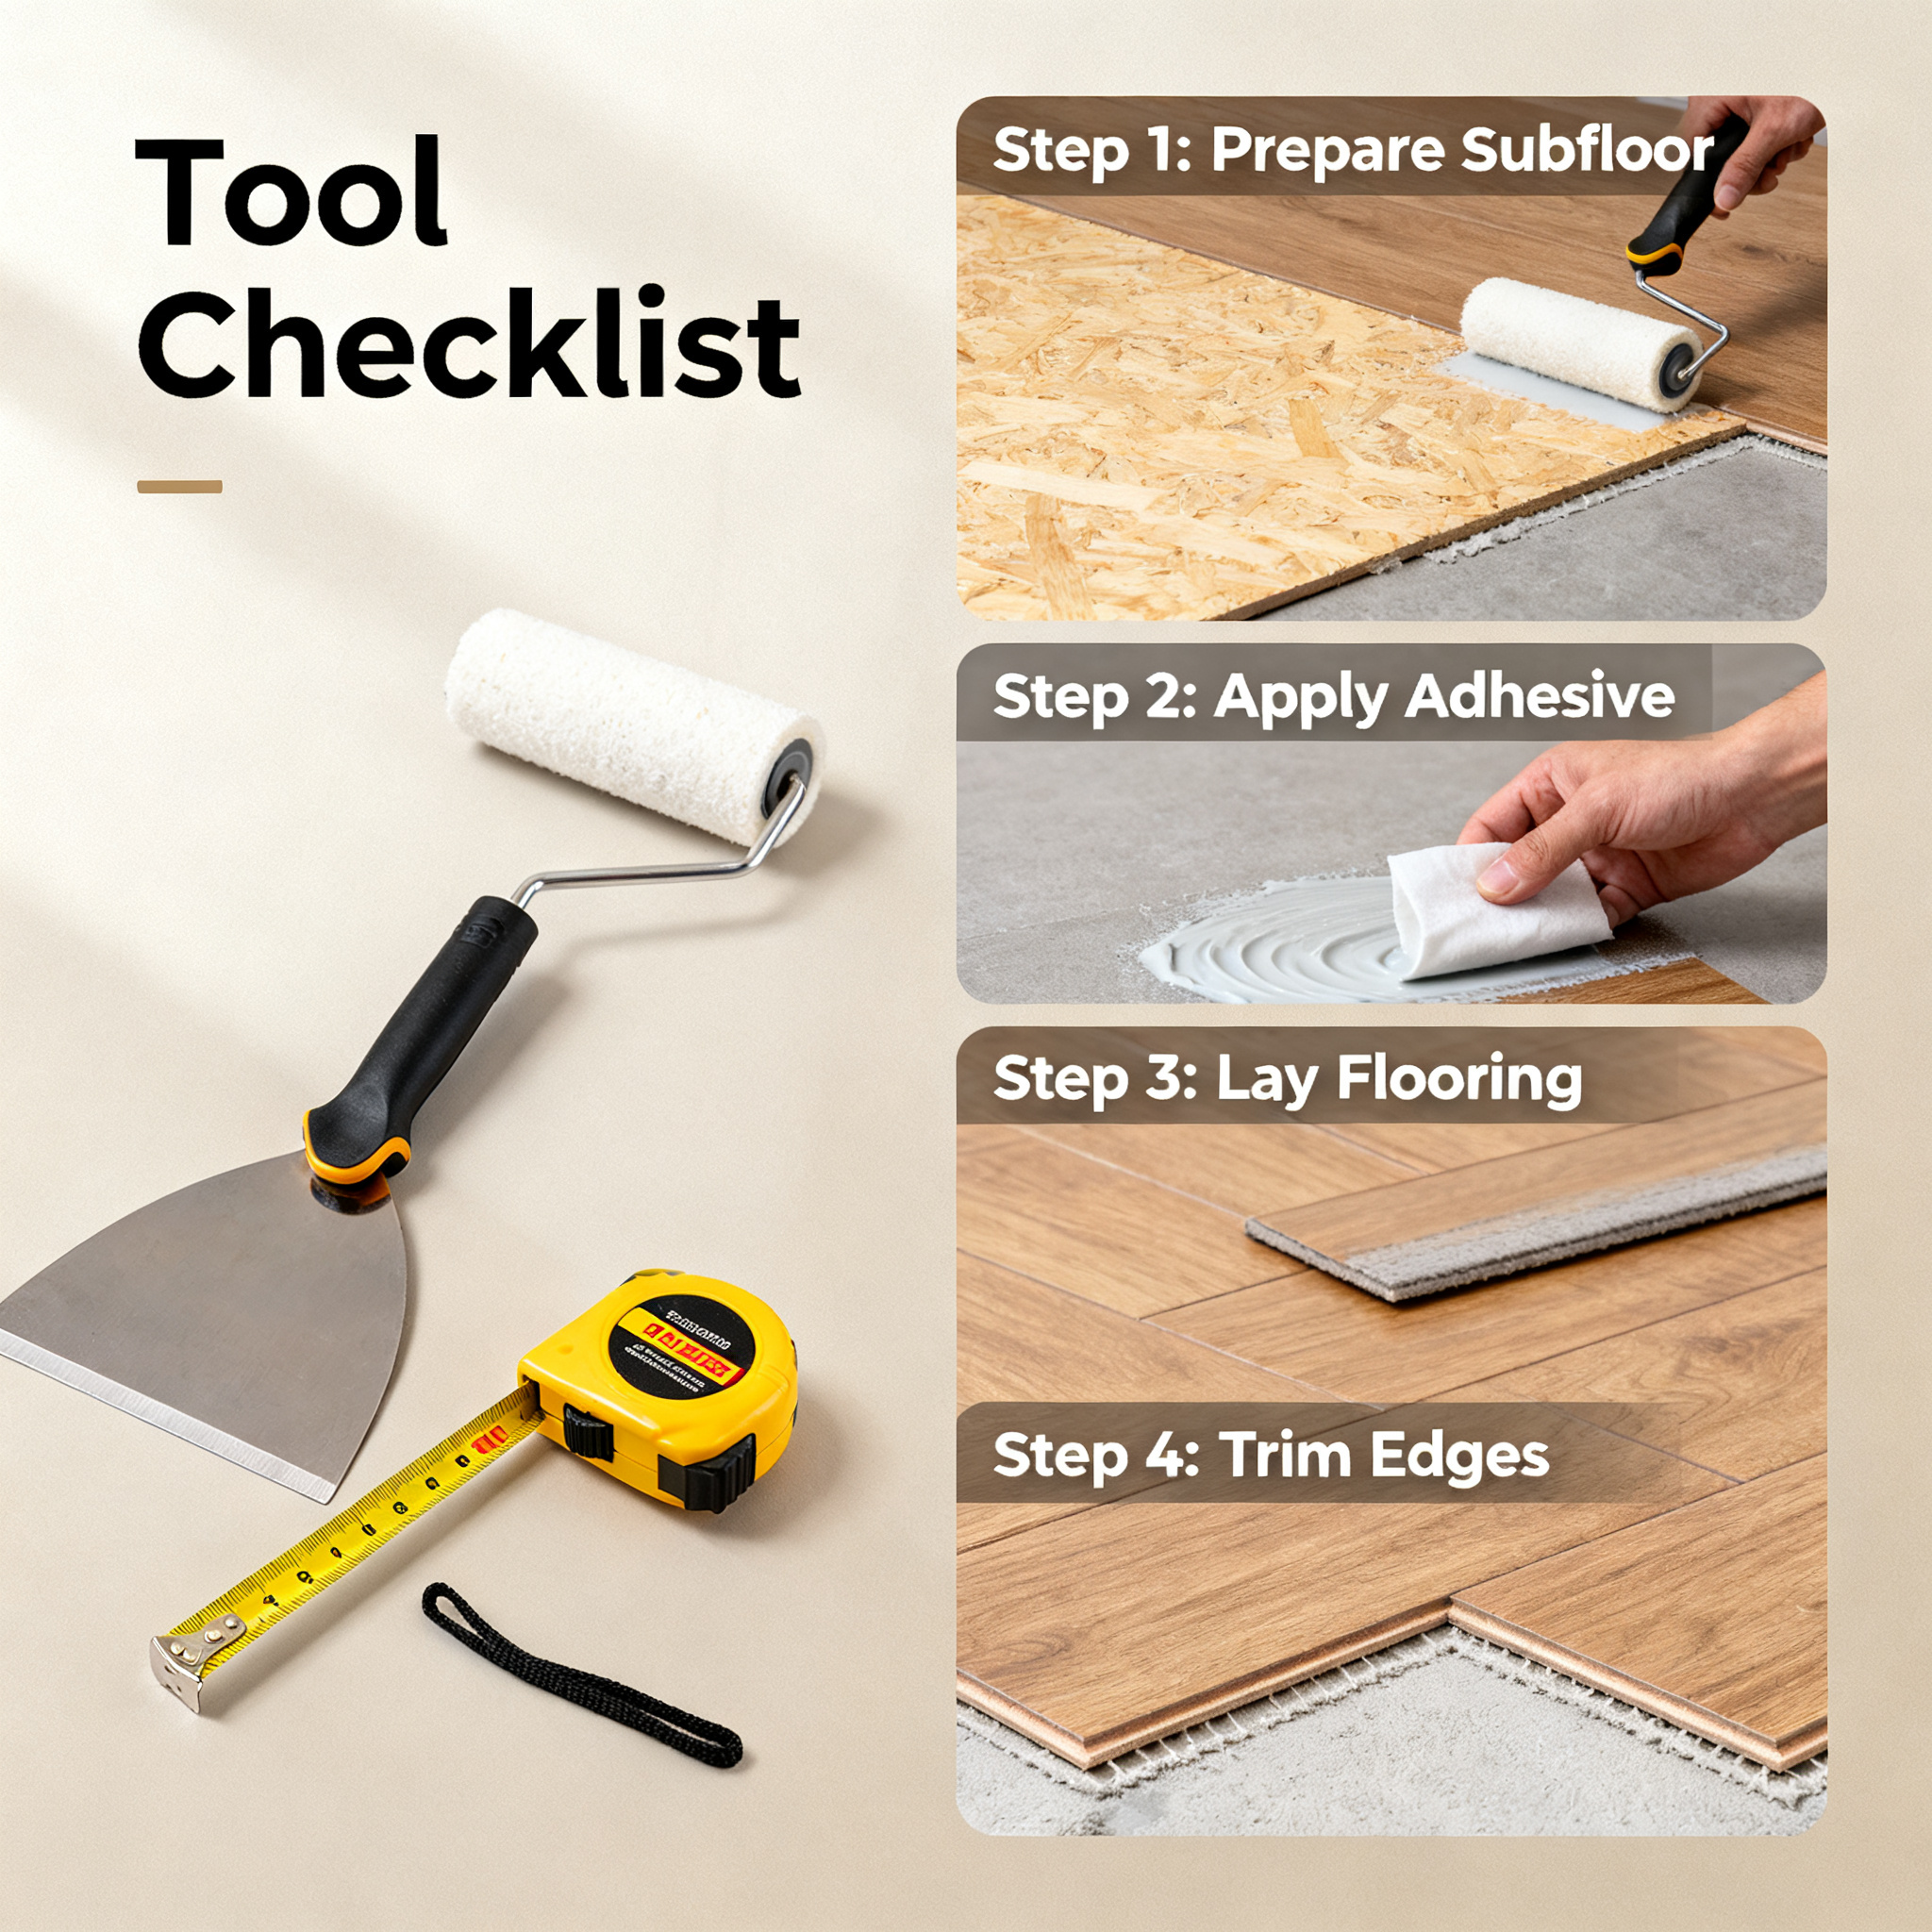
1. Before You Start: Stock Up Your Arsenal
Laying flooring isn't just unrolling and placing it on the ground. It's a meticulous task, and your tool list falls into four categories: cutting and measuring, adhesive and pressing, welding, and auxiliary cleaning.
1. Cutting and Measuring Tools
- Steel tape measure (5 meters or longer): For measuring the court's dimensions and calculating roll widths, with accuracy down to the millimeter.
- Utility knife with heavy-duty blades: This is your workhorse. Cutting flooring requires a clean, decisive stroke; change blades frequently, as dull ones cause ragged edges.
- Long straightedge or aluminum ruler (2-3 meters): To hold down the roll when trimming edges or marking lines, ensuring straight cuts.
- Chalk line: To snap reference lines on the subfloor, ensuring the first roll is aligned perfectly so subsequent rolls don't veer off.
2. Adhesive and Pressing Tools
- Notched trowel (A2/A3 teeth): For applying adhesive to the subfloor. Tooth spacing determines adhesive coverage; for sports flooring, a tooth depth of about 2mm is typical.
- Rubber mallet or wooden hammer: After laying the roll, use it to tap out air bubbles and ensure full contact between adhesive and flooring backing.
- Manual roller (50kg or heavier) or power roller: This is critical. After each roll is laid, use the roller to press from the center outward repeatedly to expel air. For large areas, renting a power roller saves significant effort.
3. Welding Tools
- Hot air welder (adjustable temperature, recommended 2000W or higher): For welding PVC welding rods. Temperature typically ranges from 350°C to 450°C, depending on the rod and flooring material.
- Welding rod (specialized PVC): Color should match the flooring; ideally, use original accessories from the same brand for minimal color difference and better fusion.
- Crescent knife or curved trimming knife: After the welding rod cools, trim excess material flush with the flooring surface. This step tests patience—cutting too deep damages the flooring, while too shallow leaves ridges.
- Groove cutter (V-shaped tool): Before welding, use it to carve a V-shaped groove along the seam between two rolls, about 3mm wide and two-thirds the flooring thickness deep, so the welding rod can embed properly.
4. Auxiliary Cleaning Tools
- Industrial vacuum cleaner: Dust and sand on the subfloor cause bubbles; vacuum thoroughly before laying.
- Slightly damp mop: After vacuuming, mop once more to ensure no loose dust remains.
- Pencil or marker: For marking.
2. Full Construction Process: Seven Steps to Avoid Rework
Assume your floor is ready—smooth, dry, no dust, with moisture content below 8% (a simple test: place a plastic sheet; if no water droplets form underneath after 12 hours, it's good). Now, let's dive in.
Step 1: Subfloor Preparation and Pre-Laying
First, thoroughly clean the floor with a vacuum, and patch any uneven areas with self-leveling compound. Then, bring the rolls to the site for pre-laying. Note: PVC flooring comes rolled, and laying it directly causes edge curling. Cut the rolls to room dimensions, lay them loosely flat on the floor to "remember" the unrolled state, and let them sit for at least 24 hours. This step, called "relaxing," significantly reduces later buckling. When cutting, leave 5-8 centimeters of extra material on each roll for final trimming.
Step 2: Snap Reference Lines
Using the longest wall as a guide, snap a straight line with a chalk line. Lay the first roll along this line, and align each subsequent roll parallel to the previous one. If the court has a logo or pattern, calculate its position in advance to ensure it's centered and complete.
Step 3: Apply Adhesive
Fold back half of the roll and use a notched trowel to spread adhesive evenly on the subfloor. Don't apply too much at once—just enough for half a roll. Wait until the adhesive is tacky (touch it with your hand; it shouldn't stick but should still be sticky, typically 10-20 minutes depending on humidity), then fold the roll back into place. A key detail: if adhesive sits for over 30 minutes before laying, its stickiness decreases, and you'll need to reapply.
Step 4: Lay and Expel Air
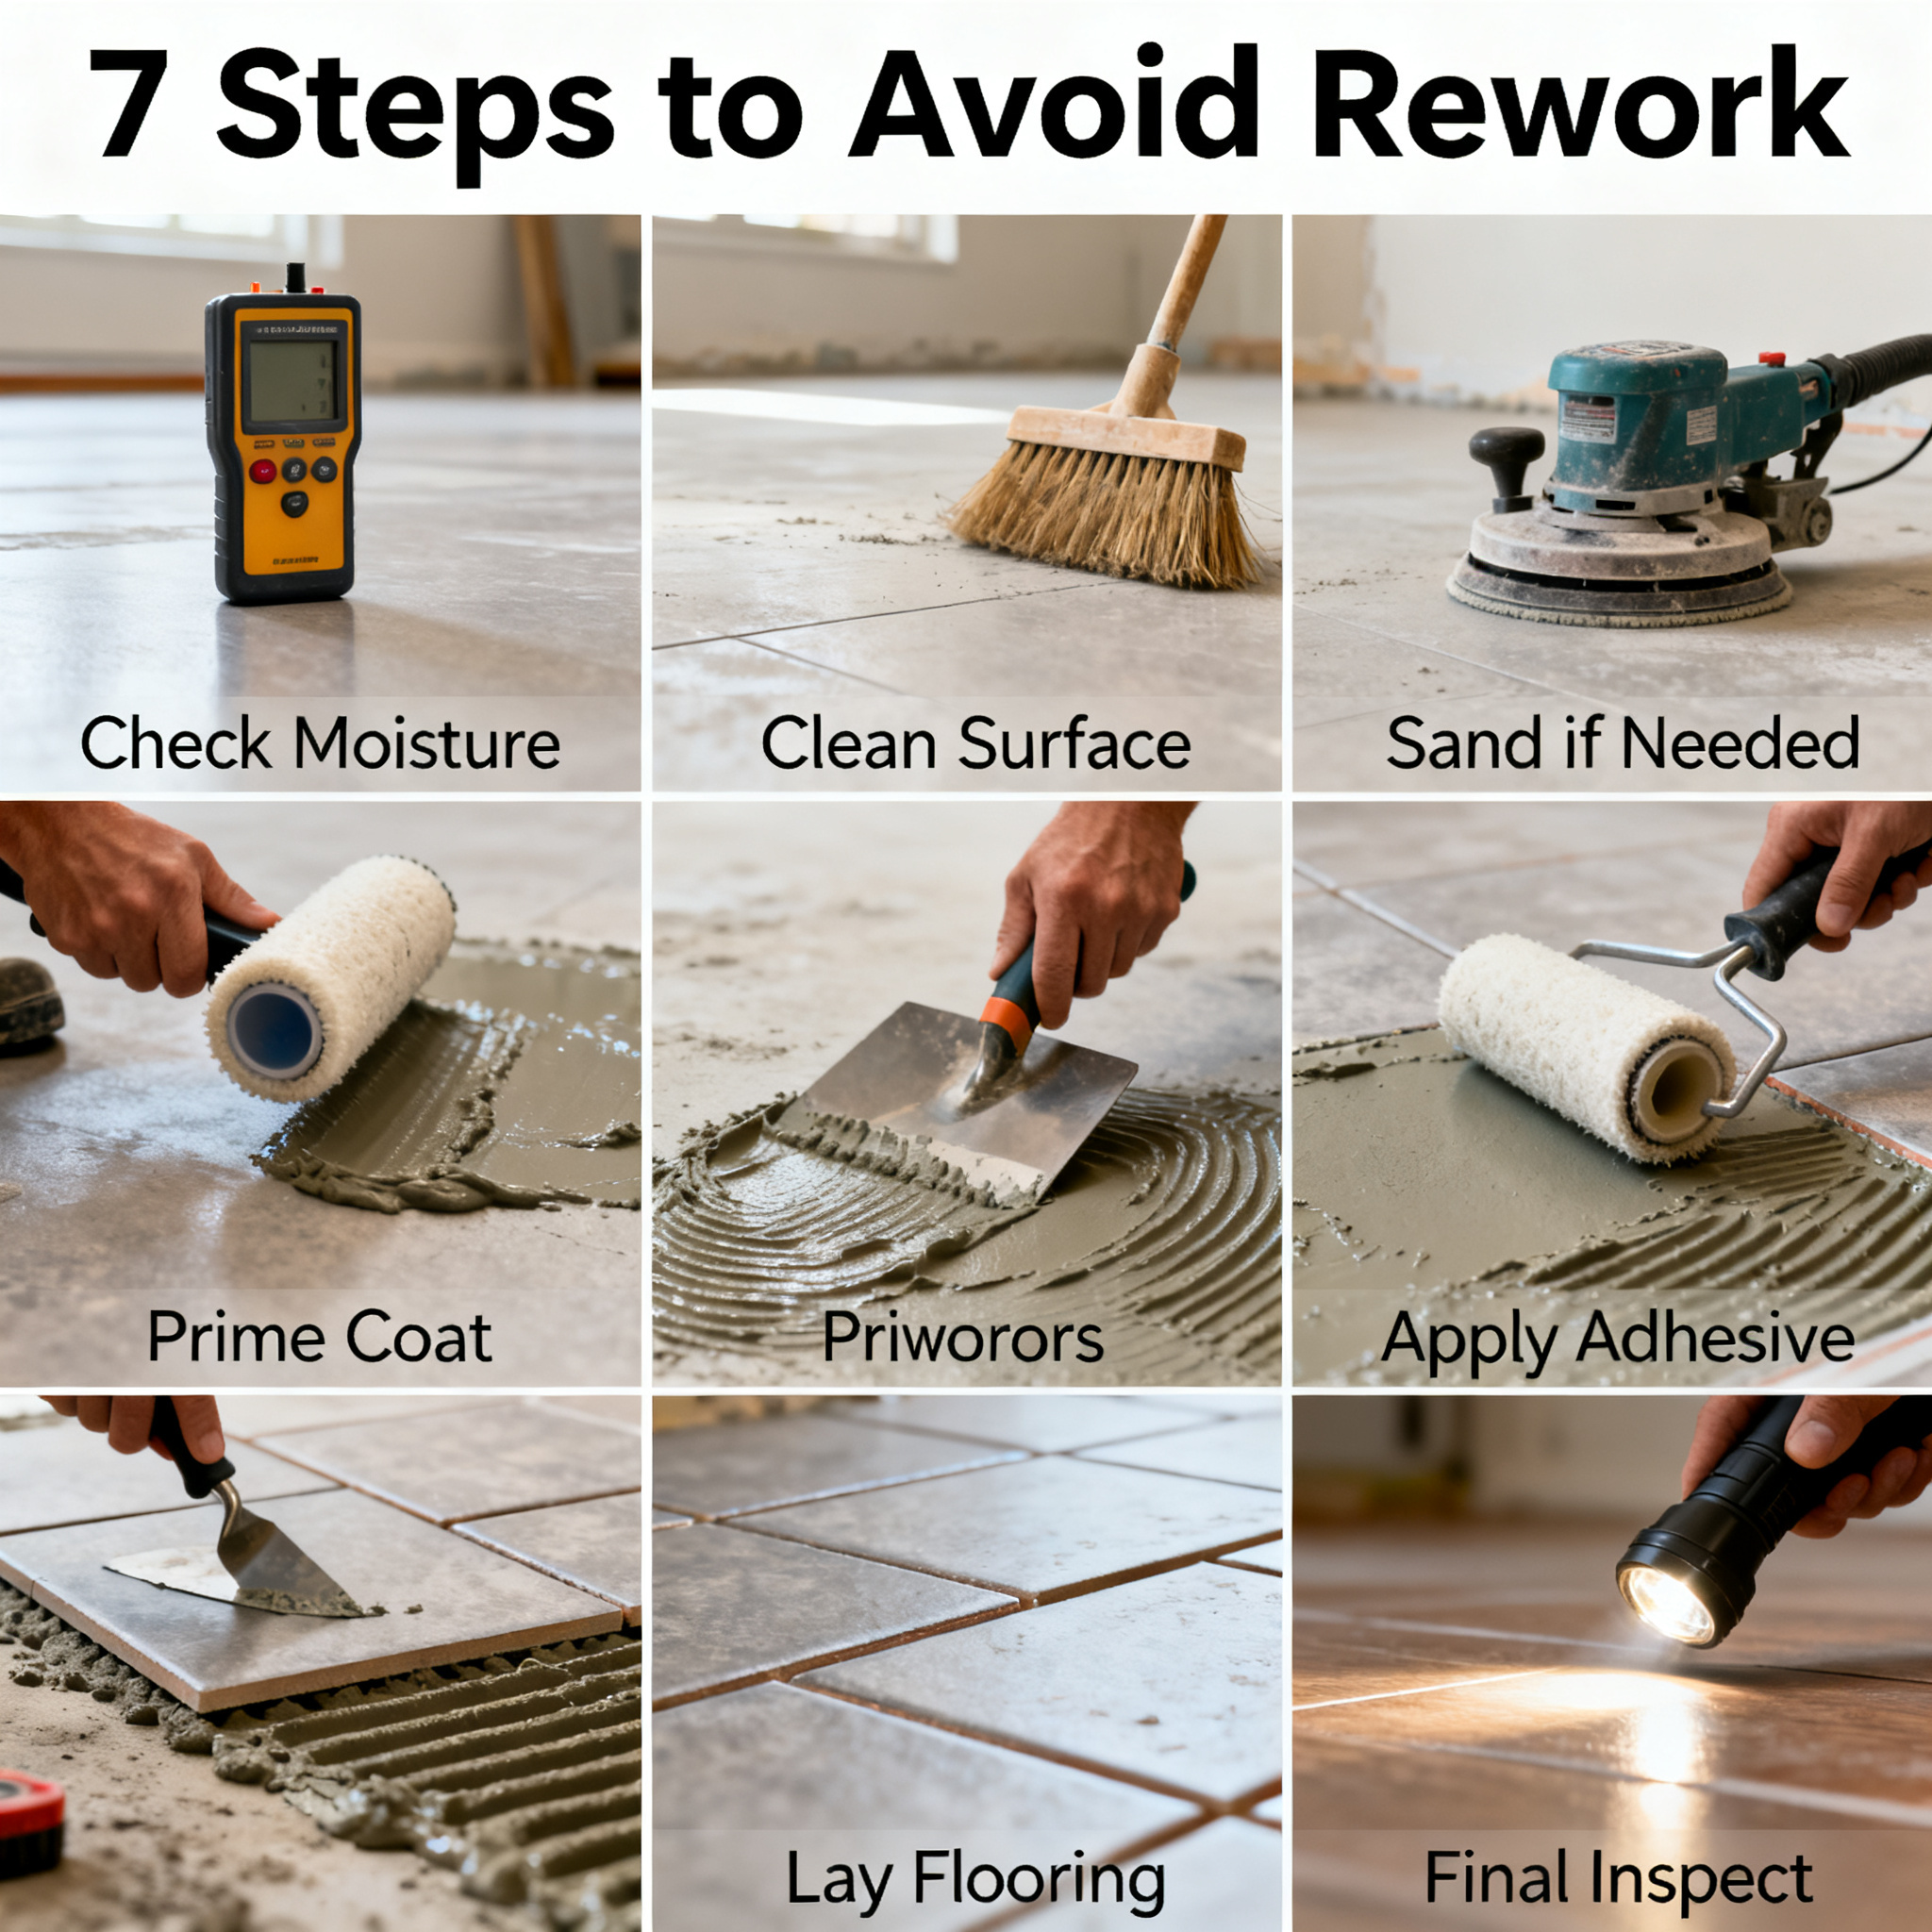
After folding the roll back, first step from the center outward with your feet, then use the roller repeatedly. For corners, tap gently with a rubber mallet. If you spot a bubble, puncture it with a utility knife, expel the air, and press flat. After each roll is laid, trim excess edges against the wall with a utility knife, but don't trim the seams between rolls yet—leave them overlapping and handle them together after the next roll is placed.
Step 5: Pattern Matching and Seam Cutting
This is where craftsmanship shines. For textured or lined flooring, align patterns at the seams. Method: overlap the new roll onto the previous one by about 3 centimeters, place a straightedge over the overlap, and cut through both layers in one stroke. This creates a seamless joint that's nearly invisible.
Step 6: Grooving and Welding
Use a groove cutter to carve a V-shaped groove along the seam, and clean out debris. Preheat the hot air welder to the set temperature (test on scrap material first to see if the rod melts clear and uniform). Insert the rod tip into the groove, and move the welder nozzle along the rod at a steady pace. Don't rush—ensure the rod melts fully and fills the groove bottom. After welding, wait for the rod to cool completely (about 15-20 minutes), then trim in two passes with a crescent knife: first a rough cut to remove most of the excess, then a fine trim with the blade flush against the flooring surface to level it.
Step 7: Clean and Inspect
After all welding is done, sweep the entire area. Focus on checking that welds are full, no spots are missed, and the flooring has no bubbles or curled edges. For minor issues, use a hot air welder for local repairs. Finally, let the venue air out for 48 hours to dissipate adhesive and welding odors before use.
3. Common Pitfalls to Avoid in Advance
- Higher welding temperature isn't always better. Too high, and the rod burns and yellows; too low, and the fusion is weak, leading to separation over time. Different brands have slightly different melting points, so always test on scraps before starting.
- Pattern matching isn't just for looks. For directional textures, inconsistent laying directions not only look bad but also create uneven seams due to texture height differences, posing a tripping hazard.
- Leaving gaps accounts for thermal expansion. For large areas (over 400 square meters) or areas with expansion joints, use specialized transition strips rather than forcing seams together.
- Use the right adhesive. Sports flooring requires water-based PVC adhesive, not general-purpose or floor adhesives, which can react and deform the flooring.
4. Choosing the Right Material Saves Half the Effort
After covering tools and techniques, let's talk about the material itself. Many focus solely on steps but overlook flooring quality. If the flooring has poor thickness tolerance or uneven rolls, even the best installer can't achieve a perfect surface. That's why we always recommend choosing brands with their own factories and a track record of completed projects.
Take SQUARE COMFORT, for example. With manufacturing roots dating back to the late 1980s, the brand was officially registered in 2012. It has since served companies like Huawei, BYD, and Vanke, and was selected as a member unit for table tennis tables in the "Brand Power" preferred project. Its sports venue flooring materials (including PVC sports flooring commonly used in table tennis halls, badminton courts, and dance studios) undergo strict quality checks before shipping, ensuring uniform thickness and flat rolls that make pattern matching and welding easier. For DIY users, choosing a good roll of flooring saves plenty of rework later.
Moreover, SQUARE COMFORT doesn't just sell materials—it offers turnkey solutions from design and construction to acceptance. If you still feel uncertain after reading this guide, or if your venue is large or demands high flatness (e.g., for official competitions), don't hesitate to contact their engineering team. After all, leaving it to professionals is sometimes more cost-effective than struggling on your own.
Laying flooring yourself once will reveal that it's not just physical labor—it's a test of patience and attention to detail. With the right tools, a clear process, and reliable materials, you can achieve a standard court that impresses.