
Why Does Your Gym Flooring Bubble and Crack Within a Few Years? It's Likely These 3 Installation Steps Were Done Wrong
Why Does Your Gym Flooring Bubble and Crack Within a Few Years? It's Likely These 3 Installation Steps Were Done Wrong
Many facility managers have faced this frustration: you spend a significant amount on new flooring, it looks smooth and shiny at first, but within two or three years, the edges start to curl, bubbles form in the middle, it creaks underfoot, and cracks appear at the seams. When you call someone to inspect it, they often dismiss it with a simple "poor quality flooring" and wash their hands of any responsibility. But the truth is, most premature flooring failures stem from installation issues, not the product itself.
When it comes to flooring, success is 30% material and 70% installation. It's like building a house—if the foundation isn't solid, no matter how beautiful the walls are, they won't last. If you're planning to install gym flooring, or if your current floor is already showing these signs, the following three critical steps are worth a few minutes of your attention.
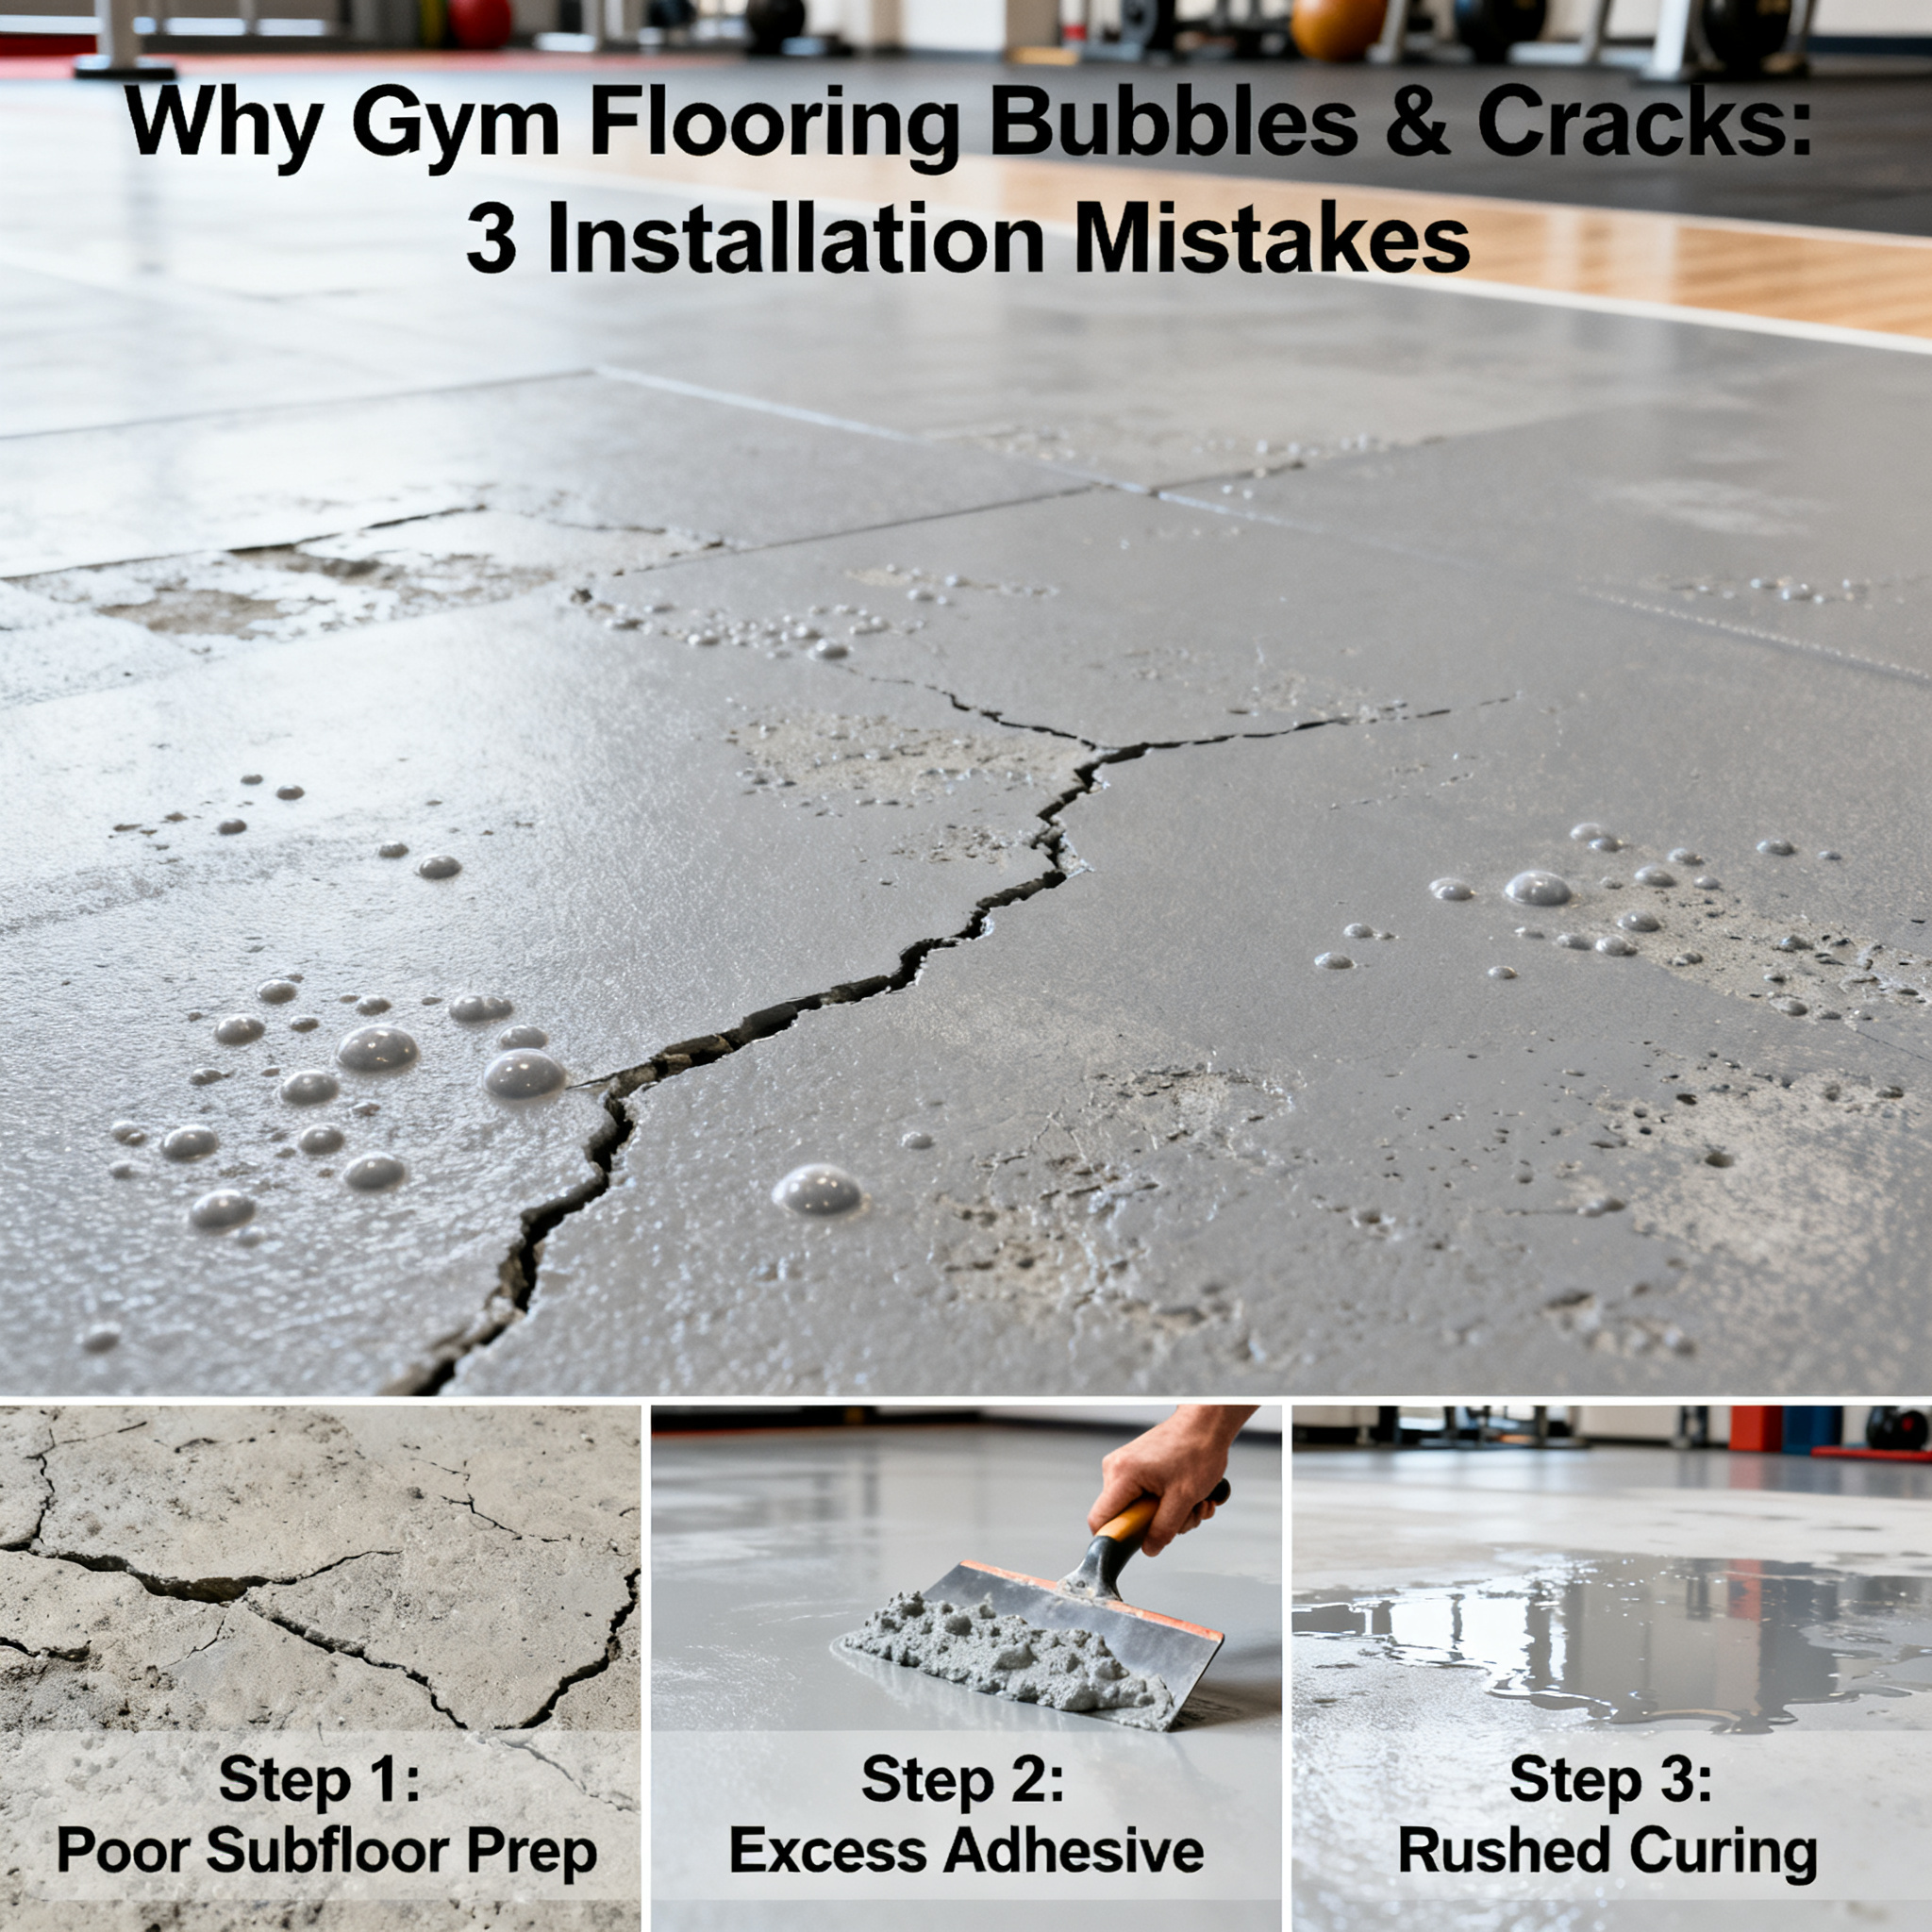
Step 1: Subfloor Preparation—An Uneven Floor Will Eventually Make Your Flooring "Turn Its Back"
This is the most overlooked yet most critical step. Many construction crews, eager to meet deadlines, simply sweep the floor and start applying adhesive and laying the flooring. What happens? Dust and sand particles on the floor act as an "insulating layer" between the flooring and the subfloor, preventing the adhesive from bonding properly. Additionally, minor unevenness in the concrete subfloor means that while the surface appears flat, there are hidden voids underneath. When people walk or equipment presses down, the adhesive layer in these voids undergoes repeated stress, and over time, the flooring begins to lose adhesion and bubble up from these weak points.
The correct approach is: before installation, the subfloor must be thoroughly ground to remove laitance and oil stains, then checked for flatness using a 2-meter straightedge. Areas with deviations exceeding 2 mm should be leveled with self-leveling compound. After the self-leveling compound has fully cured, it should be ground again and dusted to ensure the surface meets the four standards of "hard, flat, dry, and clean." This entire process often takes longer than the actual flooring installation, but it's this "slow and meticulous work" that determines whether your floor will have problems over the next decade.
Step 2: Adhesive Application—Even Adhesive Spread Directly Determines Flooring Stability
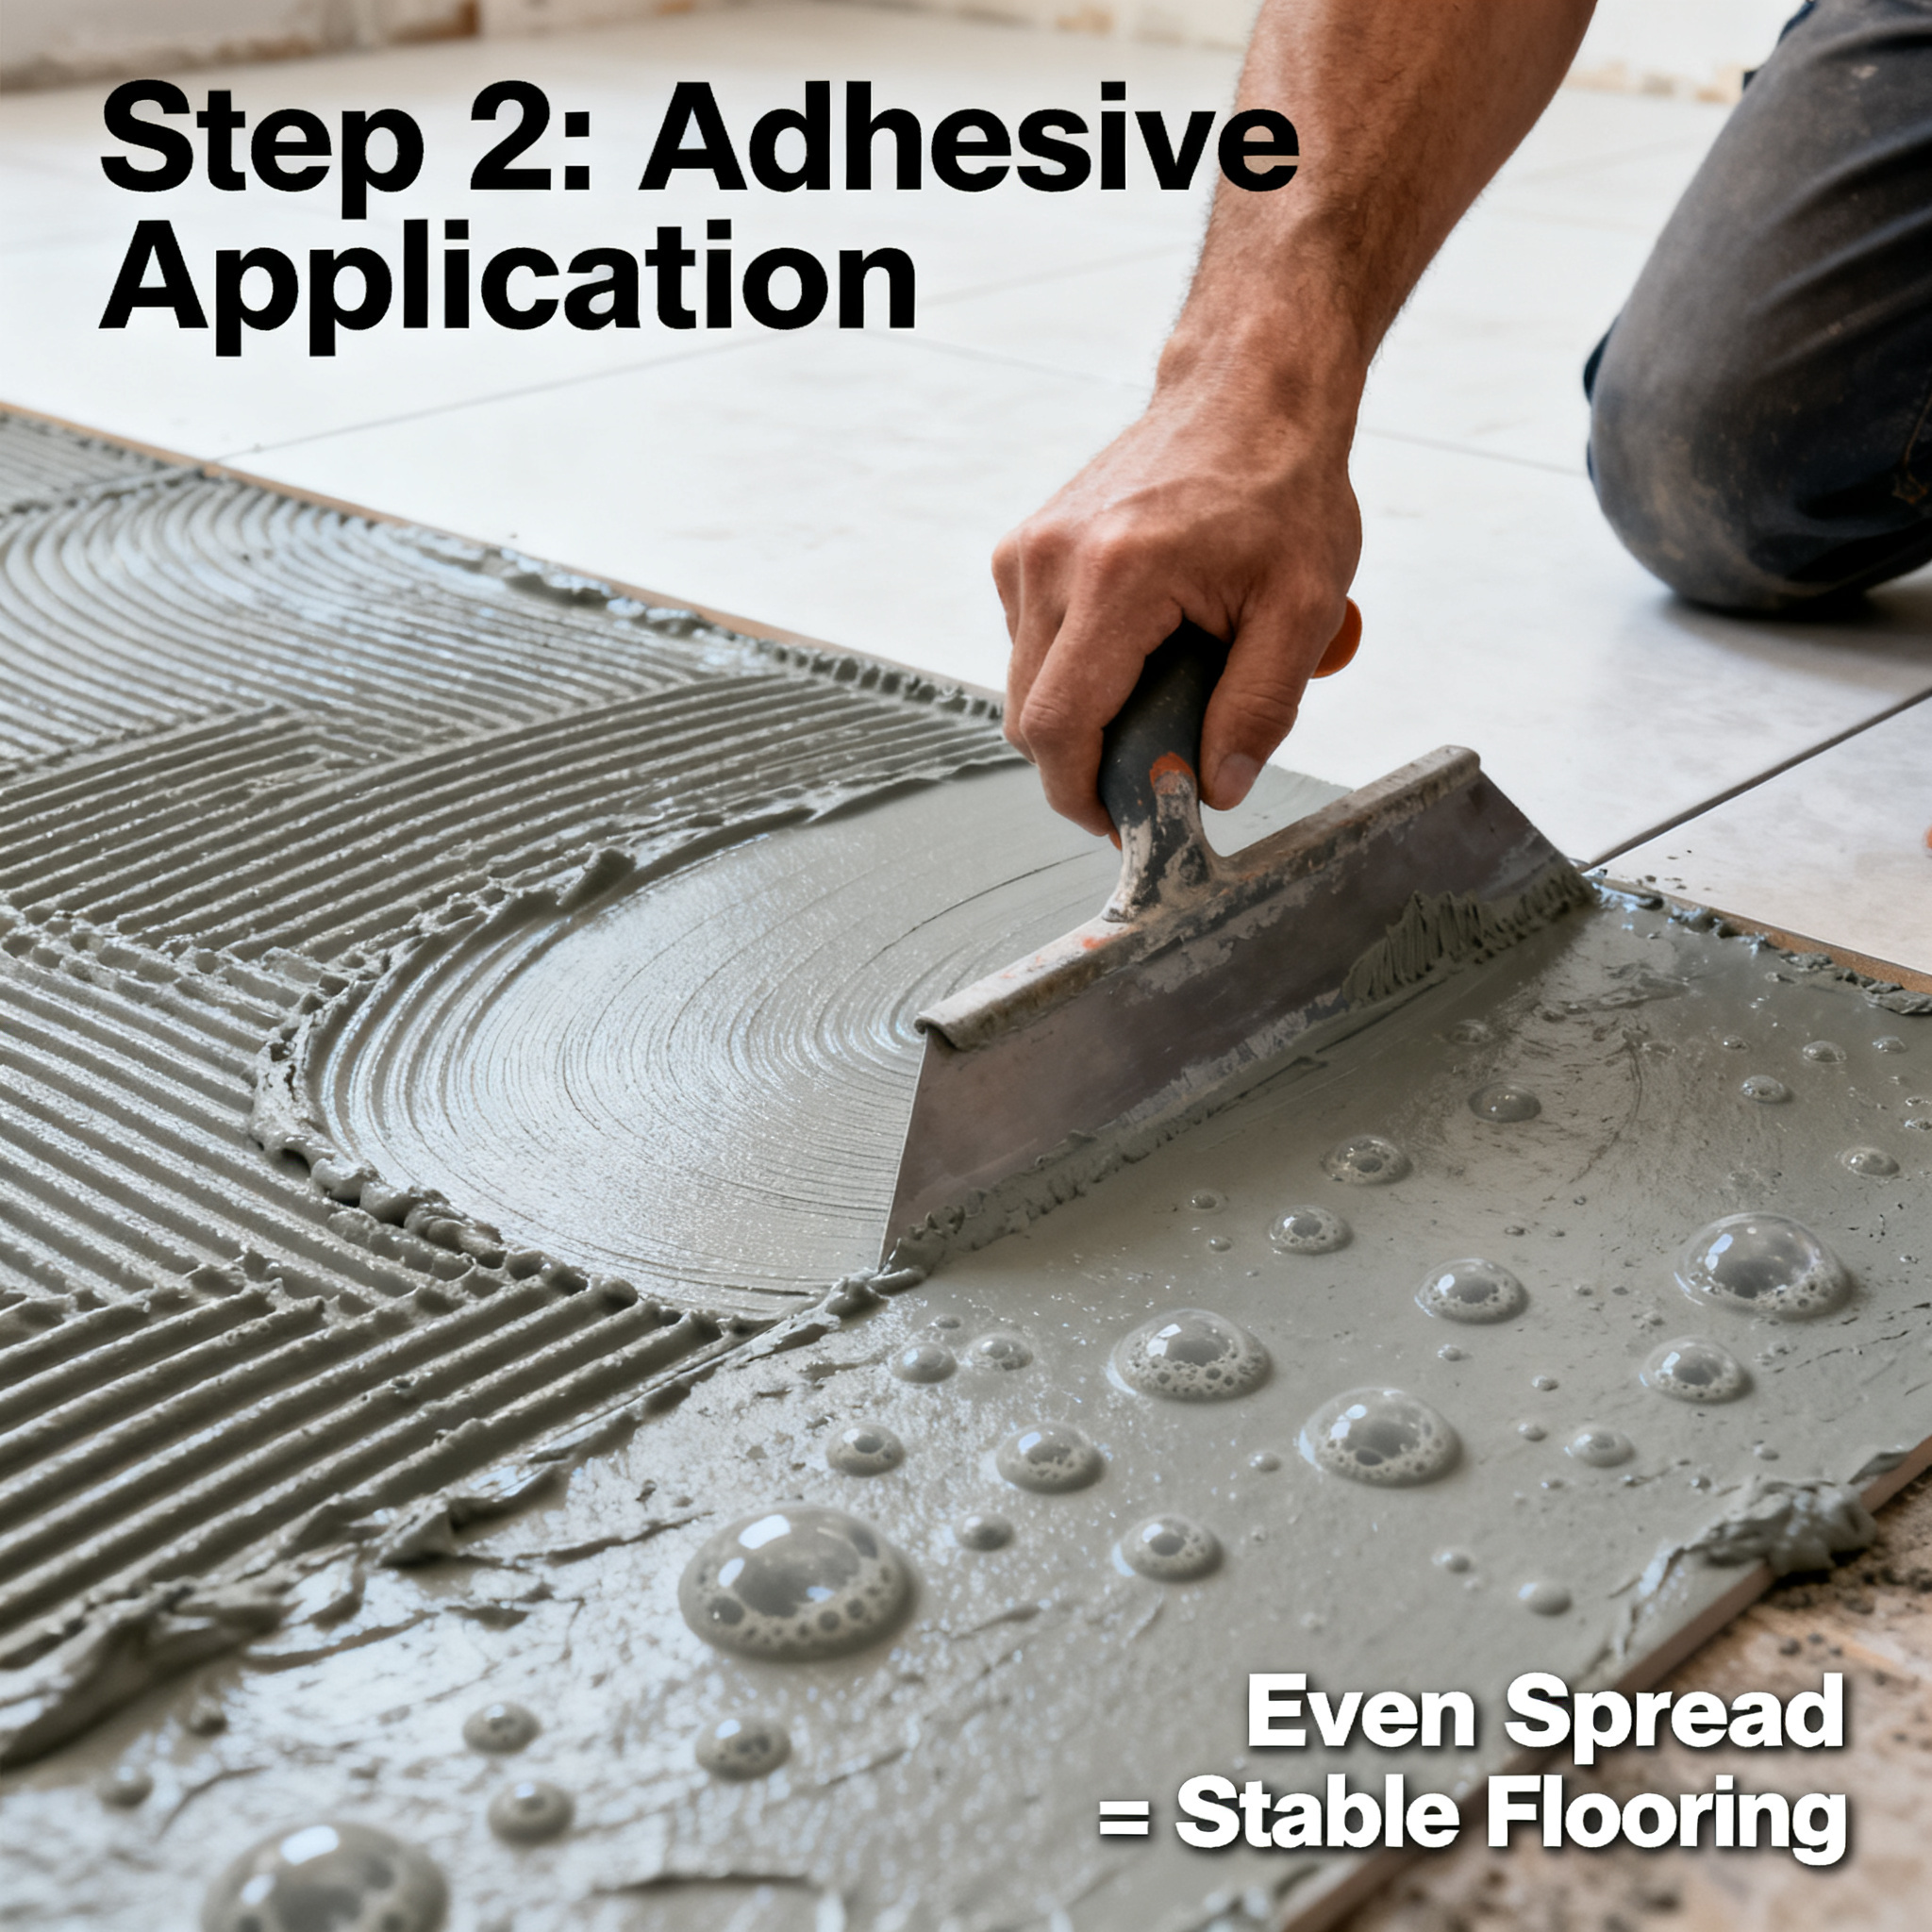
Another common cause of bubbling is uneven adhesive application. Some workers, trying to save material, casually spread the adhesive with a trowel, resulting in thick layers in some spots (like cream cake frosting) and almost invisible thin layers in others. In thick areas, solvents don't evaporate completely, leaving the adhesive semi-cured and significantly reducing its bonding strength. In thin or missed areas, the flooring and subfloor are essentially "separated," and any slight tension can cause them to part ways.
The standard adhesive application process should be: use a notched trowel to spread the adhesive evenly in a consistent direction, strictly following the product's recommended coverage rate, typically around 300-400 grams per square meter. After applying the adhesive, don't lay the flooring immediately. Wait until the adhesive is tacky to the touch but no longer wet (usually 15-30 minutes, depending on ambient temperature and humidity), then proceed with installation. This "open time" is a critical test of the installer's experience—if you don't wait long enough, the solvents in the adhesive can cause the flooring to swell; if you wait too long, the adhesive loses its tackiness, and the flooring won't bond properly.
By the way, brands like Star+Fit, which prioritize installation quality, not only provide high-quality sports flooring products but also offer customers detailed installation technical guidance and acceptance standards, including key parameters such as adhesive coverage, open time, and environmental temperature/humidity requirements. If your supplier can't even provide this basic technical support, you should be cautious.
Step 3: Seam Welding—If Details Aren't Handled Properly, Cracks Start Here
While subfloor preparation and adhesive application determine the flooring's "internal health," seam welding is the "cosmetic aspect" and the ultimate test of craftsmanship. When installing large areas of gym flooring, seams between rolls are inevitable. If seams aren't handled properly, opening and curling are almost guaranteed.
The standard seam treatment process is: first, trim the overlapping edges of two flooring pieces with a single, clean cut to ensure a tight fit; then use a grooving tool to create a uniform V-shaped groove along the seam, about two-thirds the thickness of the flooring; next, use a hot air welder to melt a specialized welding rod into the groove, typically at temperatures between 350-500°C; after the rod cools, use a specialized knife to trim the excess rod in two passes—first a rough cut, then a fine finish—so the weld surface is flush and smooth with the flooring.
One detail worth noting: if the hot air temperature is too high, the welding rod can scorch and turn yellow, affecting aesthetics; if too low, the rod and flooring won't fuse adequately, leading to cracks under stress later. Additionally, if you trim the weld before it has fully cooled, it can cause depressions in the seam, which not only trap dirt but also allow water to seep into the subfloor, leading to more severe bubbling and delamination.
Acceptance Standards: Don't Wait for Problems to Regret
If you're preparing for gym flooring installation, or if you suspect your current floor has installation issues, consider a quick self-check against these simple standards:
- Surface Flatness: Use a 2-meter straightedge; gaps in any direction should not exceed 2 mm.
- Seam Quality: Welds should be full, smooth, with no obvious depressions or protrusions; running a fingernail across should not catch.
- Bond Strength: Press down on the edges and center of the flooring; there should be no hollow or loose feeling indicating poor adhesion.
- Visual Inspection: The flooring surface should have no bubbles, wrinkles, or scratches, and color should be uniform.
Flooring lifespan can range from as short as five to six years to over ten years, and the difference often lies in these invisible installation steps. Rather than waiting for problems and spending a fortune on repairs, it's better to hire a professional team from the start and ensure every step is done thoroughly with standard techniques. Those in facility management know that true cost savings come not from buying cheap products, but from making everything last its intended lifespan.
Star+Fit, which started with sports socks and expanded to sports flooring and equipment, has always believed in one motto: "All greatness begins from the ground up." This saying is especially fitting for gym flooring—every inch of flatness underfoot comes from the meticulous, often unseen craftsmanship during installation. So, the next time your flooring bubbles or cracks, don't rush to blame the material. Ask yourself: were those three steps done right during installation?